

Outdoor Living · DIY Fire Pit Guide
10 DIY Backyard Fire Pit Ideas for Every Budget and Space
From a $100 gravel-and-paver refresh to a built-in conversation circle, these projects help you choose what to build, how to arrange the seats, and when a finished fire pit table makes more sense.

The quick answer
For most first-time DIYers, a level gravel pad with a fire-rated metal ring and masonry surround is the simplest place to start.
A good backyard fire pit does three jobs at once: it contains the flame, gives the seating area a clear center, and leaves enough room for people to move comfortably. The best design is not necessarily the largest or most elaborate—it is the one that fits your fuel choice, local rules, skill level, and the way you gather.
If you want a low-cost weekend project, begin with pavers, fire-rated blocks, gravel, or an approved metal insert. If you want push-button ignition, a usable tabletop, controlled gas fuel, and less ash cleanup, skip ahead to the DIY versus fire pit table comparison.
Confirm local fire and HOA rules, locate underground utilities before digging, and follow the instructions and clearances for your exact fuel source, burner, insert, and surface.
Start with the project you can realistically finish.
Budget is only one part of the decision. Think about the surface below, the fuel you will use, the work you are comfortable doing, and whether the area must stay flexible.
Gravel + fire ring
Define the ground plane first, then add a listed or fire-rated insert and a restrained masonry edge.
See the makeoverPaver ring
A familiar round plan with common materials and a clear three-step build sequence.
See the projectTabletop fire bowl
A compact focal point using a purpose-built burner placed on a heat-compatible surface.
See the projectFinished fire pit table
Best when you value controlled ignition, table function, and a more permanent lounge layout.
Compare optionsBuild around the way people gather—not to stuff up an empty yard.
Begin with the conversation circle, then locate the fire feature inside it.
10 DIY backyard fire pit ideas, from simplest to most involved.
Each idea includes a rough budget, build time, skill level, basic plan, and the detail most likely to cause trouble.

Idea 01 · Best first build
Classic paver fire pit
The familiar circular fire pit works because the shape naturally organizes loose chairs around one focal point. Keep the palette quiet—one block color, one gravel tone, and a clean outer edge—so an easy build still looks deliberate.
- Mark the circle only after checking required clearances and utilities.
- Excavate and compact a level, non-combustible base according to the insert and block instructions.
- Dry-fit fire-rated masonry around an approved metal ring; keep joints staggered and air openings unobstructed.

Idea 02 · Best for straight-lined patios
Square retaining-block fire pit
A square footprint feels more architectural than a round ring and aligns neatly with paver joints, fences, and modular furniture. It is especially useful when the surrounding patio already has strong horizontal and vertical lines.
- Lay out the seating and walking zone before fixing the fire pit dimensions.
- Prepare and level the base, checking each corner for square.
- Build around a compatible square insert and follow its ventilation requirements.

Idea 03 · Best low profile
In-ground fire pit
An in-ground pit recedes into the landscape, making a rustic yard feel less visually crowded. The trade-off is that drainage, visibility, and protection from foot traffic require more thought than with a raised ring.
- Confirm digging is allowed and locate underground utilities before marking the excavation.
- Plan drainage and create a stable, non-combustible base suited to your soil conditions.
- Line with components rated for the intended heat and make the perimeter unmistakable after dark.

Idea 04 · Best low-cost structure
Cinder-block look with a fire-safe insert
Concrete block gives a simple fire pit an honest, graphic look. The safest version treats the blocks as the exterior structure—not the direct firebox—and uses an approved insert or heat barrier specified for the application.
- Choose an insert first; use its dimensions and clearance requirements to size the surround.
- Level a non-combustible base and dry-stack a precise outer form.
- Finish the surrounding ground with one consistent material so the setup reads as a room.

Idea 05 · Best compact reuse
Repurposed metal drum fire pit
A steel drum or washing-machine drum can create a compact, ventilated fire basket with an industrial silhouette. Raise it on a stable, heat-safe support and give the sparks more open space than the small footprint might suggest.
- Source only known, heat-suitable metal that has never held hazardous material.
- Remove unsafe coatings, sharp edges, plastic, and residue using an appropriate method.
- Add a stable base, spark control where required, and a generous non-combustible landing zone.

Idea 06 · Best modern finish
Concrete-look fire bowl surround
For a clean-lined patio, select a fire-rated bowl or burner before designing the concrete form. Build a reinforced, level shell with the required separation and ventilation. Allow full curing and verify compatibility before exposing to heat.
- Select the fire-rated bowl or burner before designing the concrete form.
- Build a reinforced, level shell with the required separation and ventilation.
- Allow full curing and verify compatibility before exposing the assembly to heat.
Start with the seating arrangement.
The shape of the fire feature is only half the plan. Before fixing its final position, decide whether the space works better as a conversation circle, a compact four-seat setup, or a sofa-led lounge.

Idea 07 · Best for a small patio
Tabletop fire bowl with an approved burner
A tabletop feature delivers atmosphere without claiming the entire patio. Let the DIY portion be the styling—the heat-safe vessel, tray, and stone composition—while the flame comes from a purpose-built, listed tabletop burner used exactly as directed.
- Choose a listed outdoor tabletop burner and confirm its approved surface and clearances.
- Place it in a stable, heat-compatible vessel without covering required vents.
- Keep textiles, food, drinks, sleeves, and decorative plants outside the heat zone.

Idea 08 · Best landscape project
Sunken conversation circle
A change in level can turn the fire pit into an outdoor room, but this is a landscape project before it is a styling project. Drainage, retaining conditions, steps, lighting, and safe egress all need to be solved before choosing finishes.
- Plan grading, drainage, retaining structure, access, and permits before excavation.
- Set the fire feature and seat depths around comfortable sightlines and local clearances.
- Add low-glare step lighting and at least one unobstructed route back to the house.

Idea 09 · Best visual transformation
Low-cost fire pit area makeover
When the existing fire pit works but the area feels unfinished, spend the budget on organization: a defined gravel or paver field, a crisp edge, repeated chair styles, two movable side tables, and lighting along the route, instead of around the open flame.
- Remove clutter and map a single clear path to the seating area.
- Define one generous ground shape instead of several small decorative borders.
- Repeat seating materials and leave intentional gaps for entry and serving.

Idea 10 · Best flexible setup
Portable fire pit landing zone
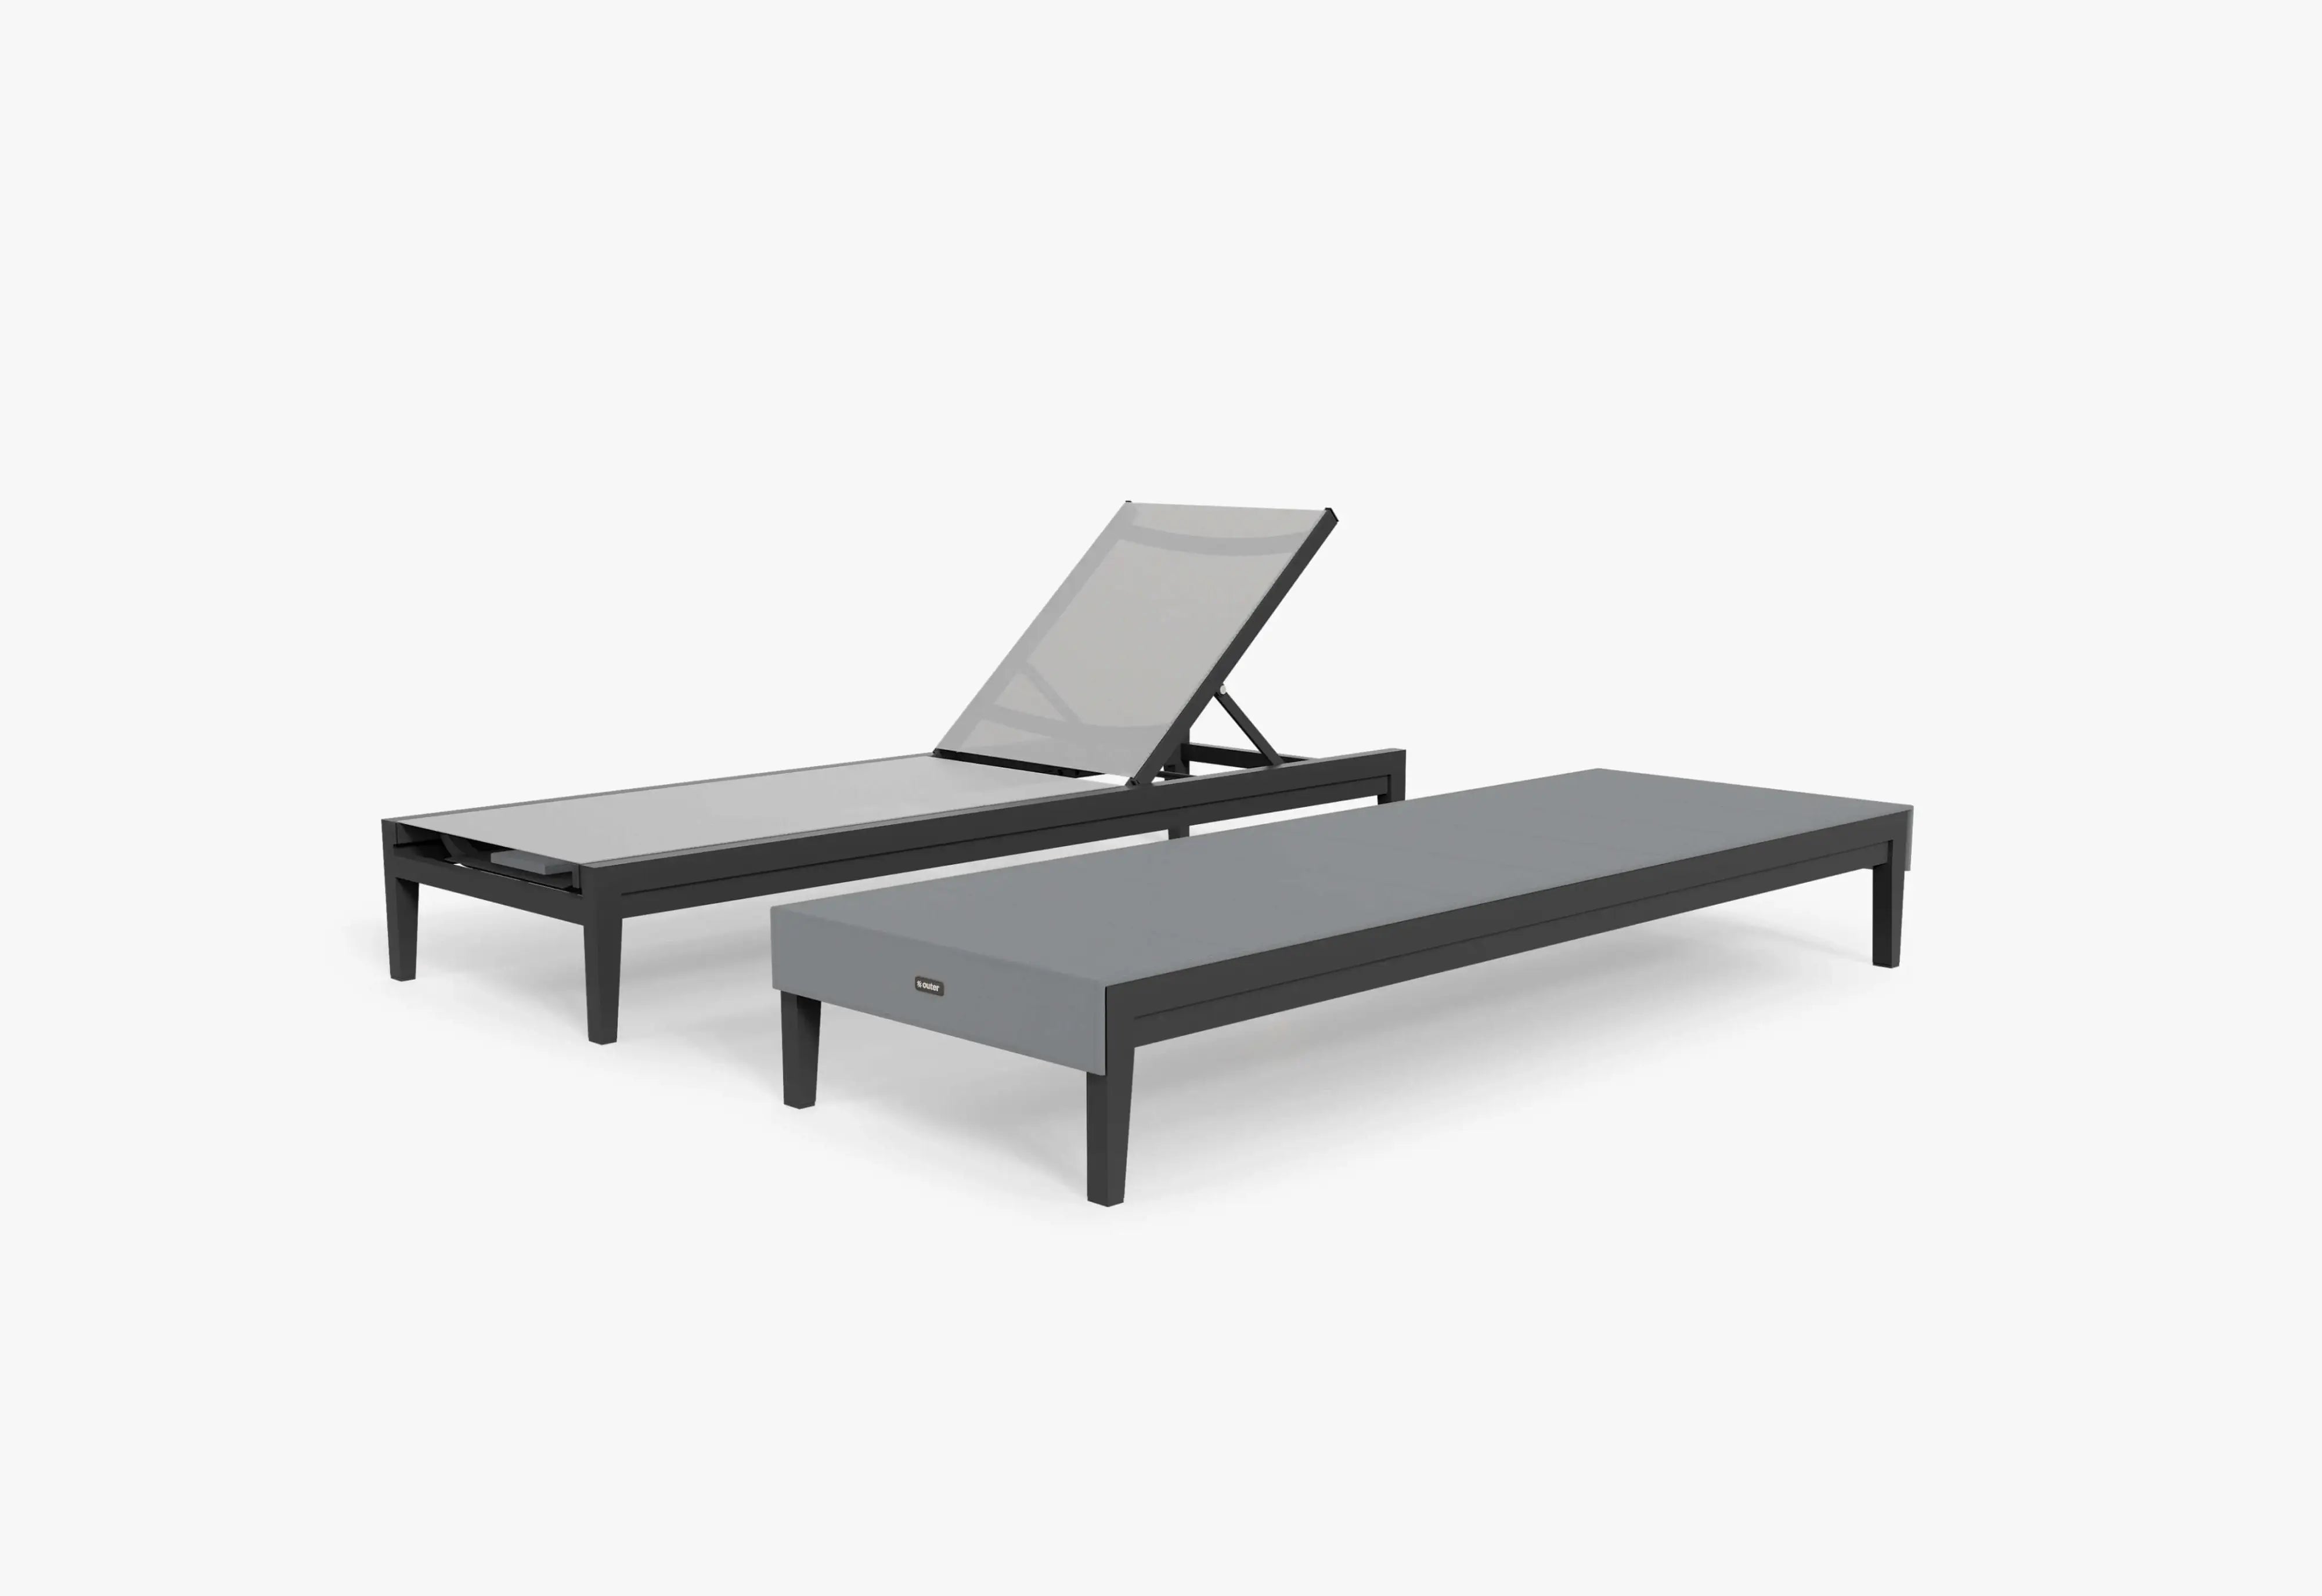
The DIY project does not have to be the fire vessel. Build a level, non-combustible destination for a listed portable pit, then use lightweight chairs and side tables that can shift when the fire is not in use.
- Choose the portable unit first and follow its approved placement guidance.
- Create a level landing sized for both the pit and the manufacturer’s required separation.
- Store the cooled unit and fuel safely when the area needs to return to everyday use.
Three seating layouts that make the fire feel intentional.
Use these as planning patterns, not universal clearance rules. The instructions for your fire pit, fuel source, and local code, determine the actual safe distances.
The conversation circle
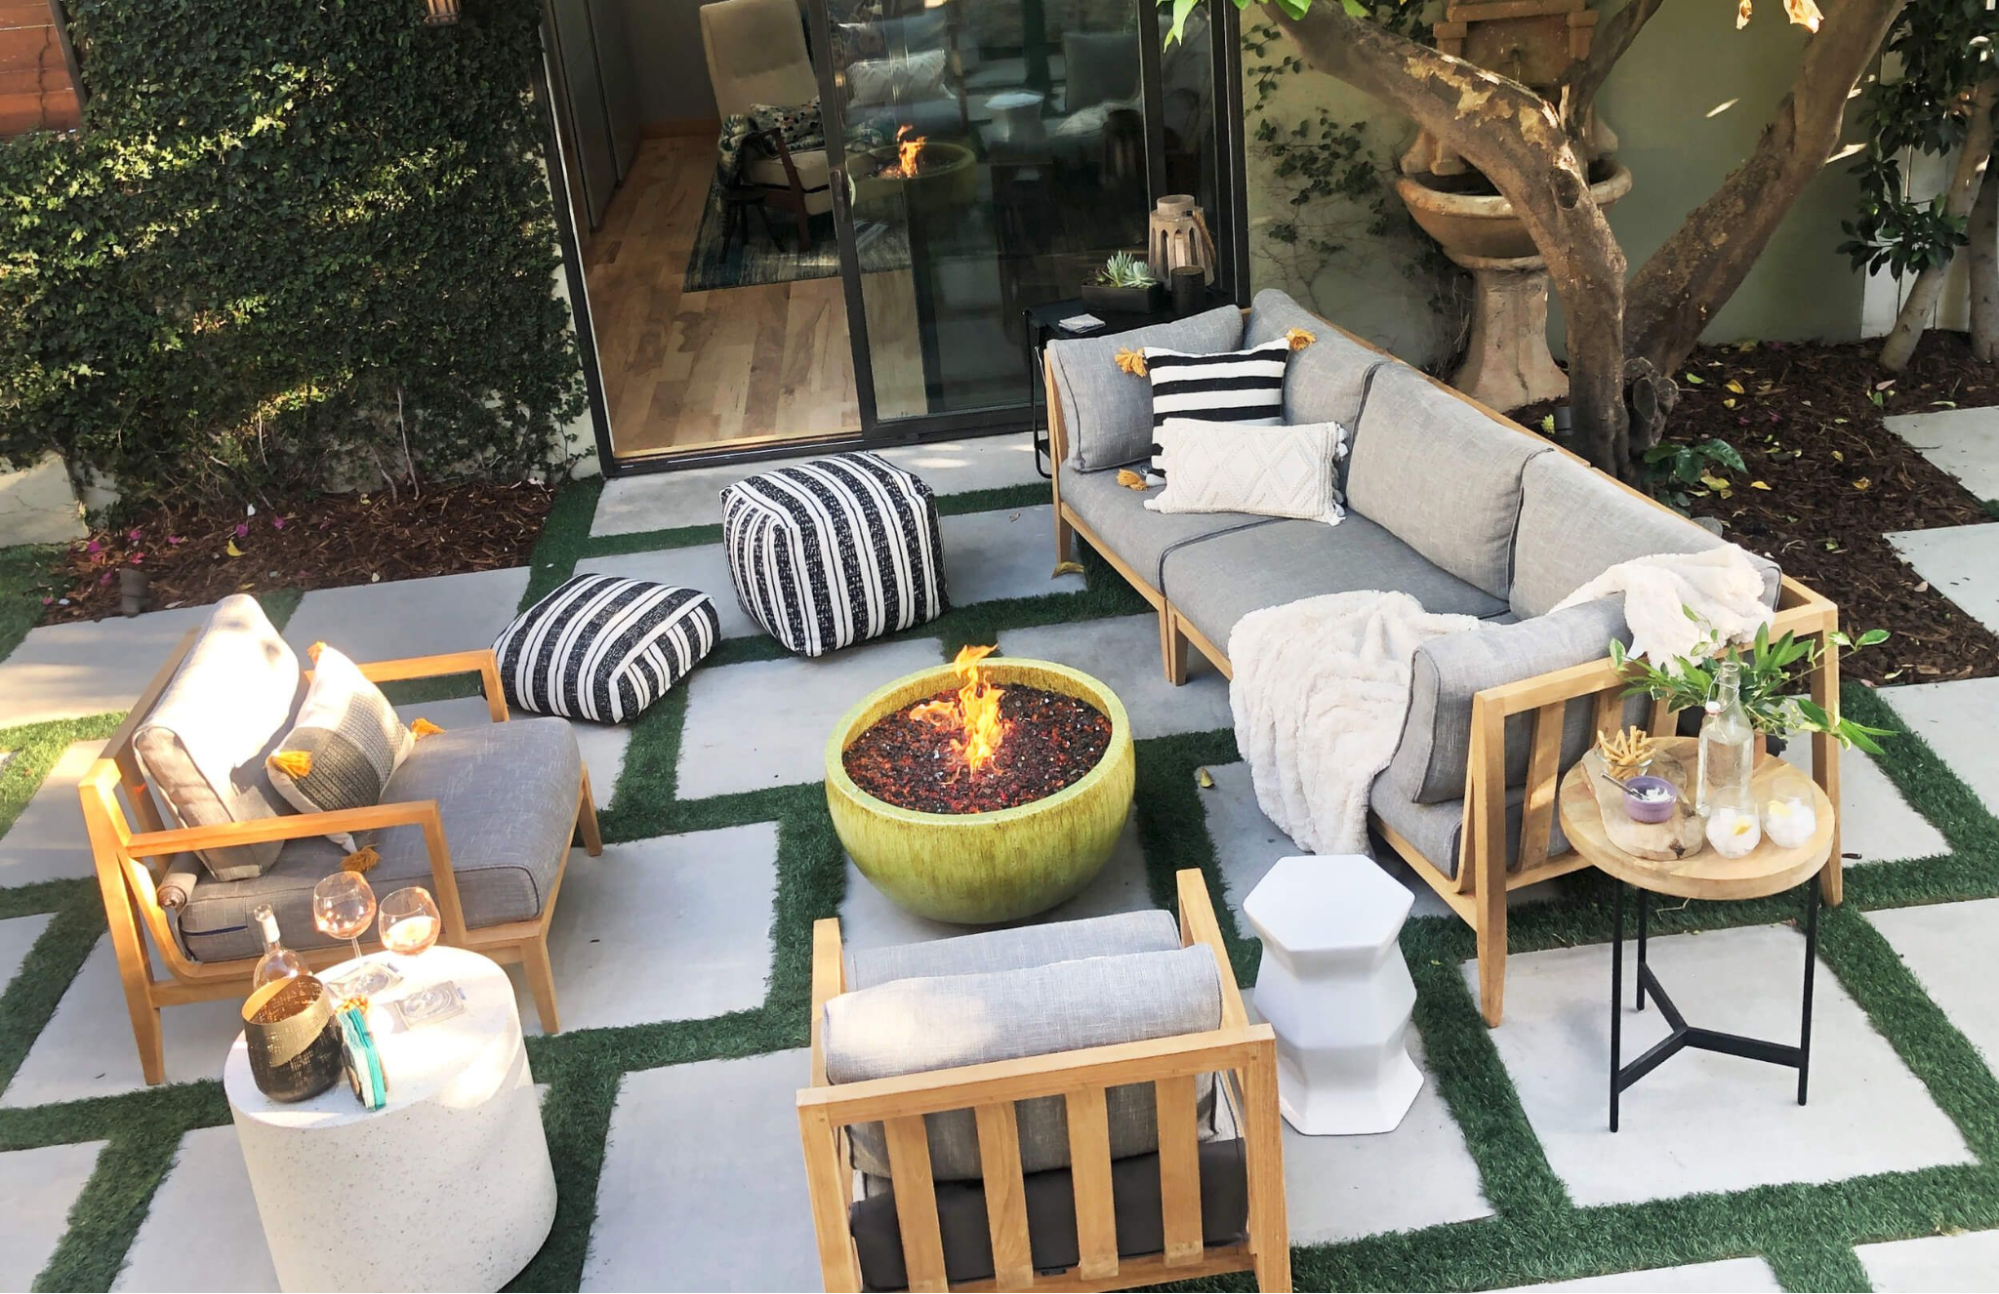
Loose chairs around a round pit create the most democratic layout: every seat faces both the flame and the group. Leave one wider break in the circle as the main entrance.
The compact square
Four chairs aligned with a square feature create a tailored plan without much furniture. Place small tables in two outside corners instead of crowding the center.
The sofa conversation lane
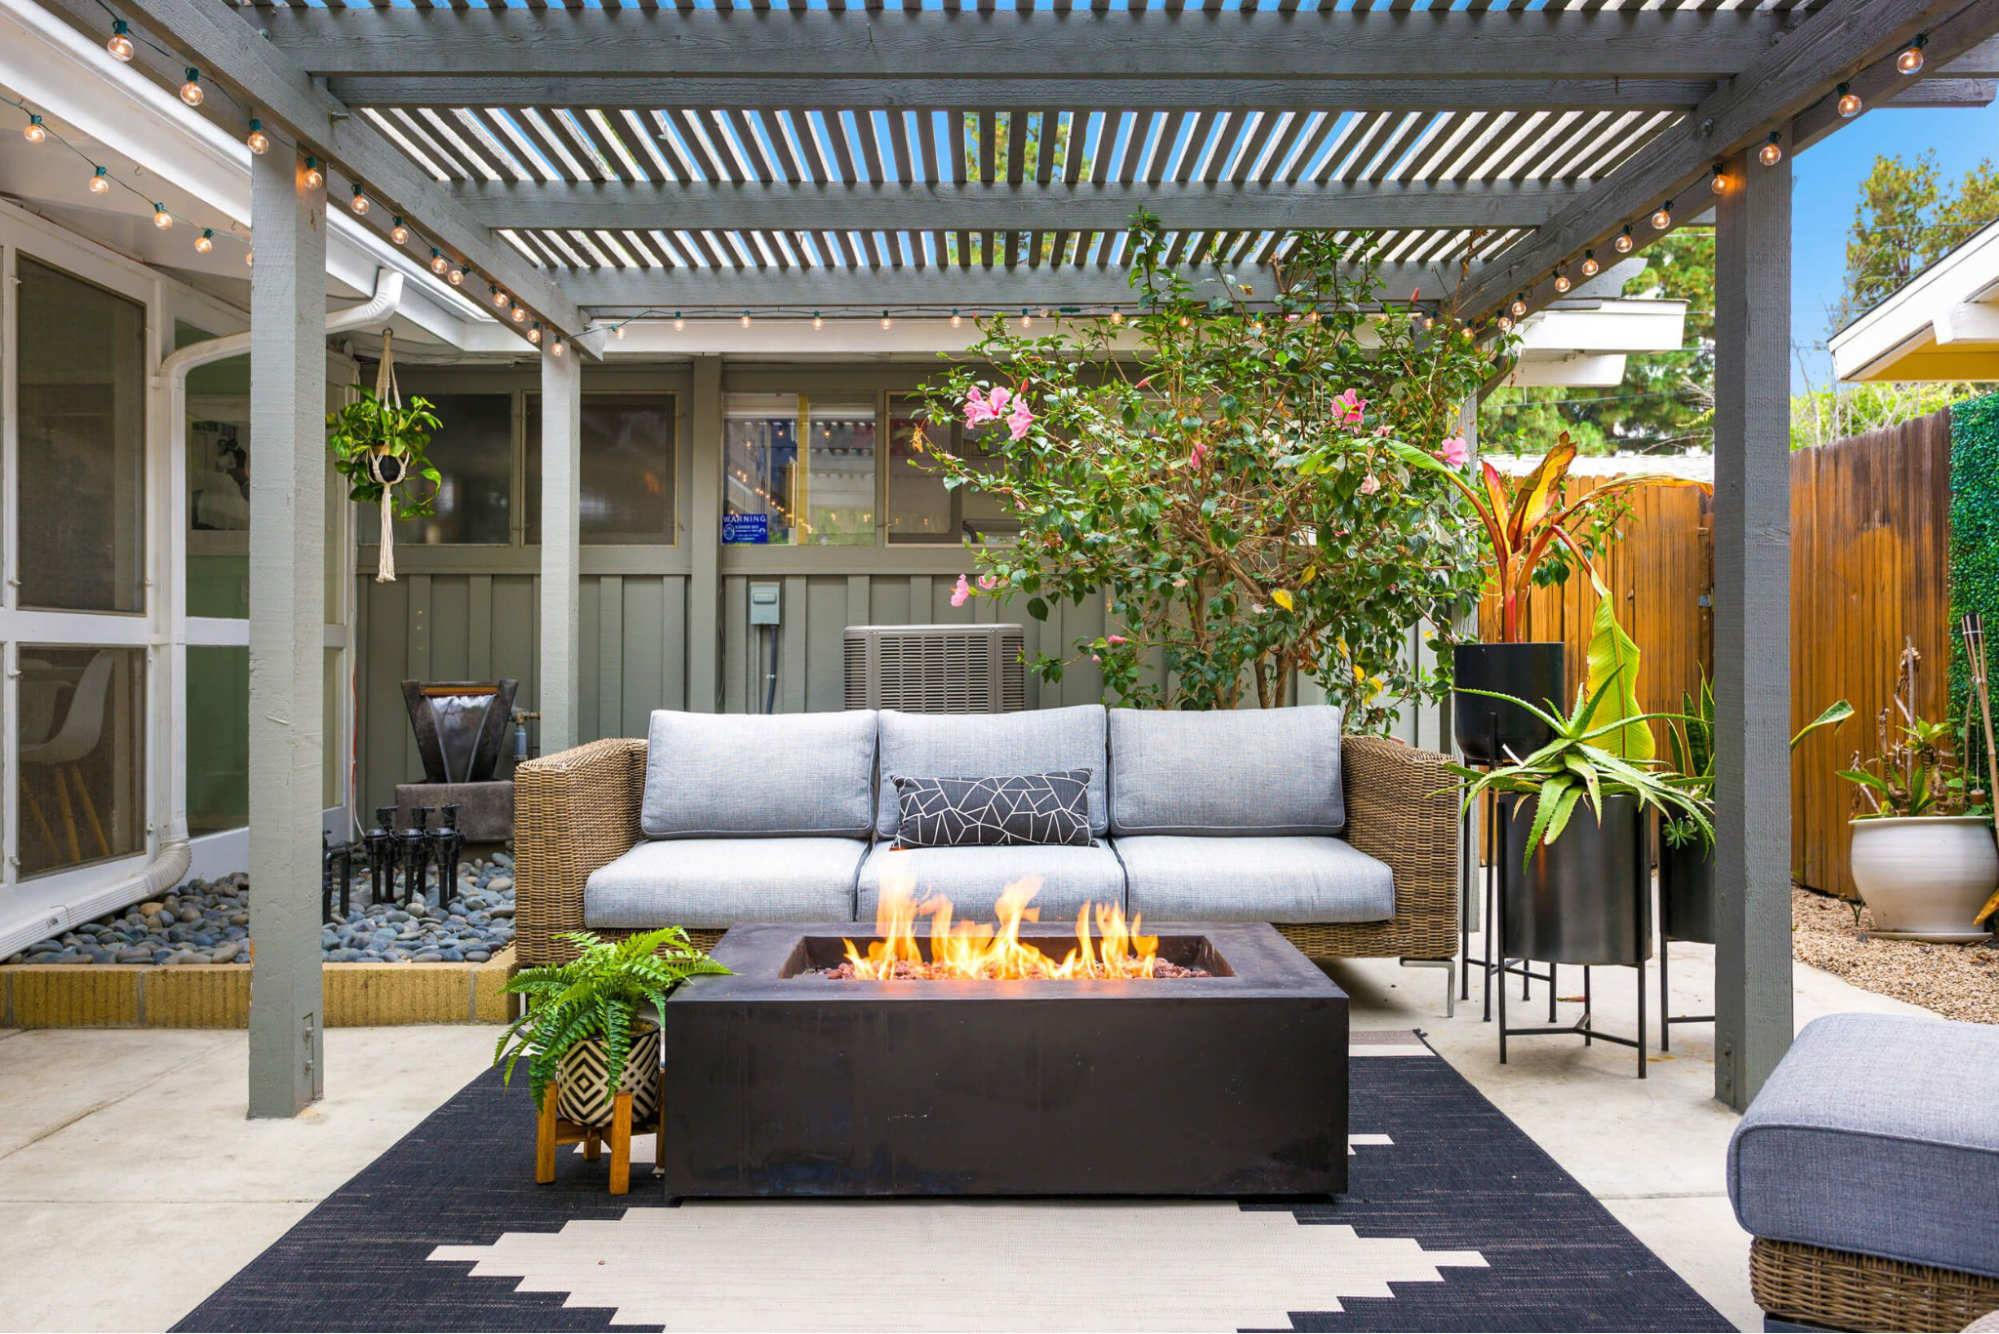
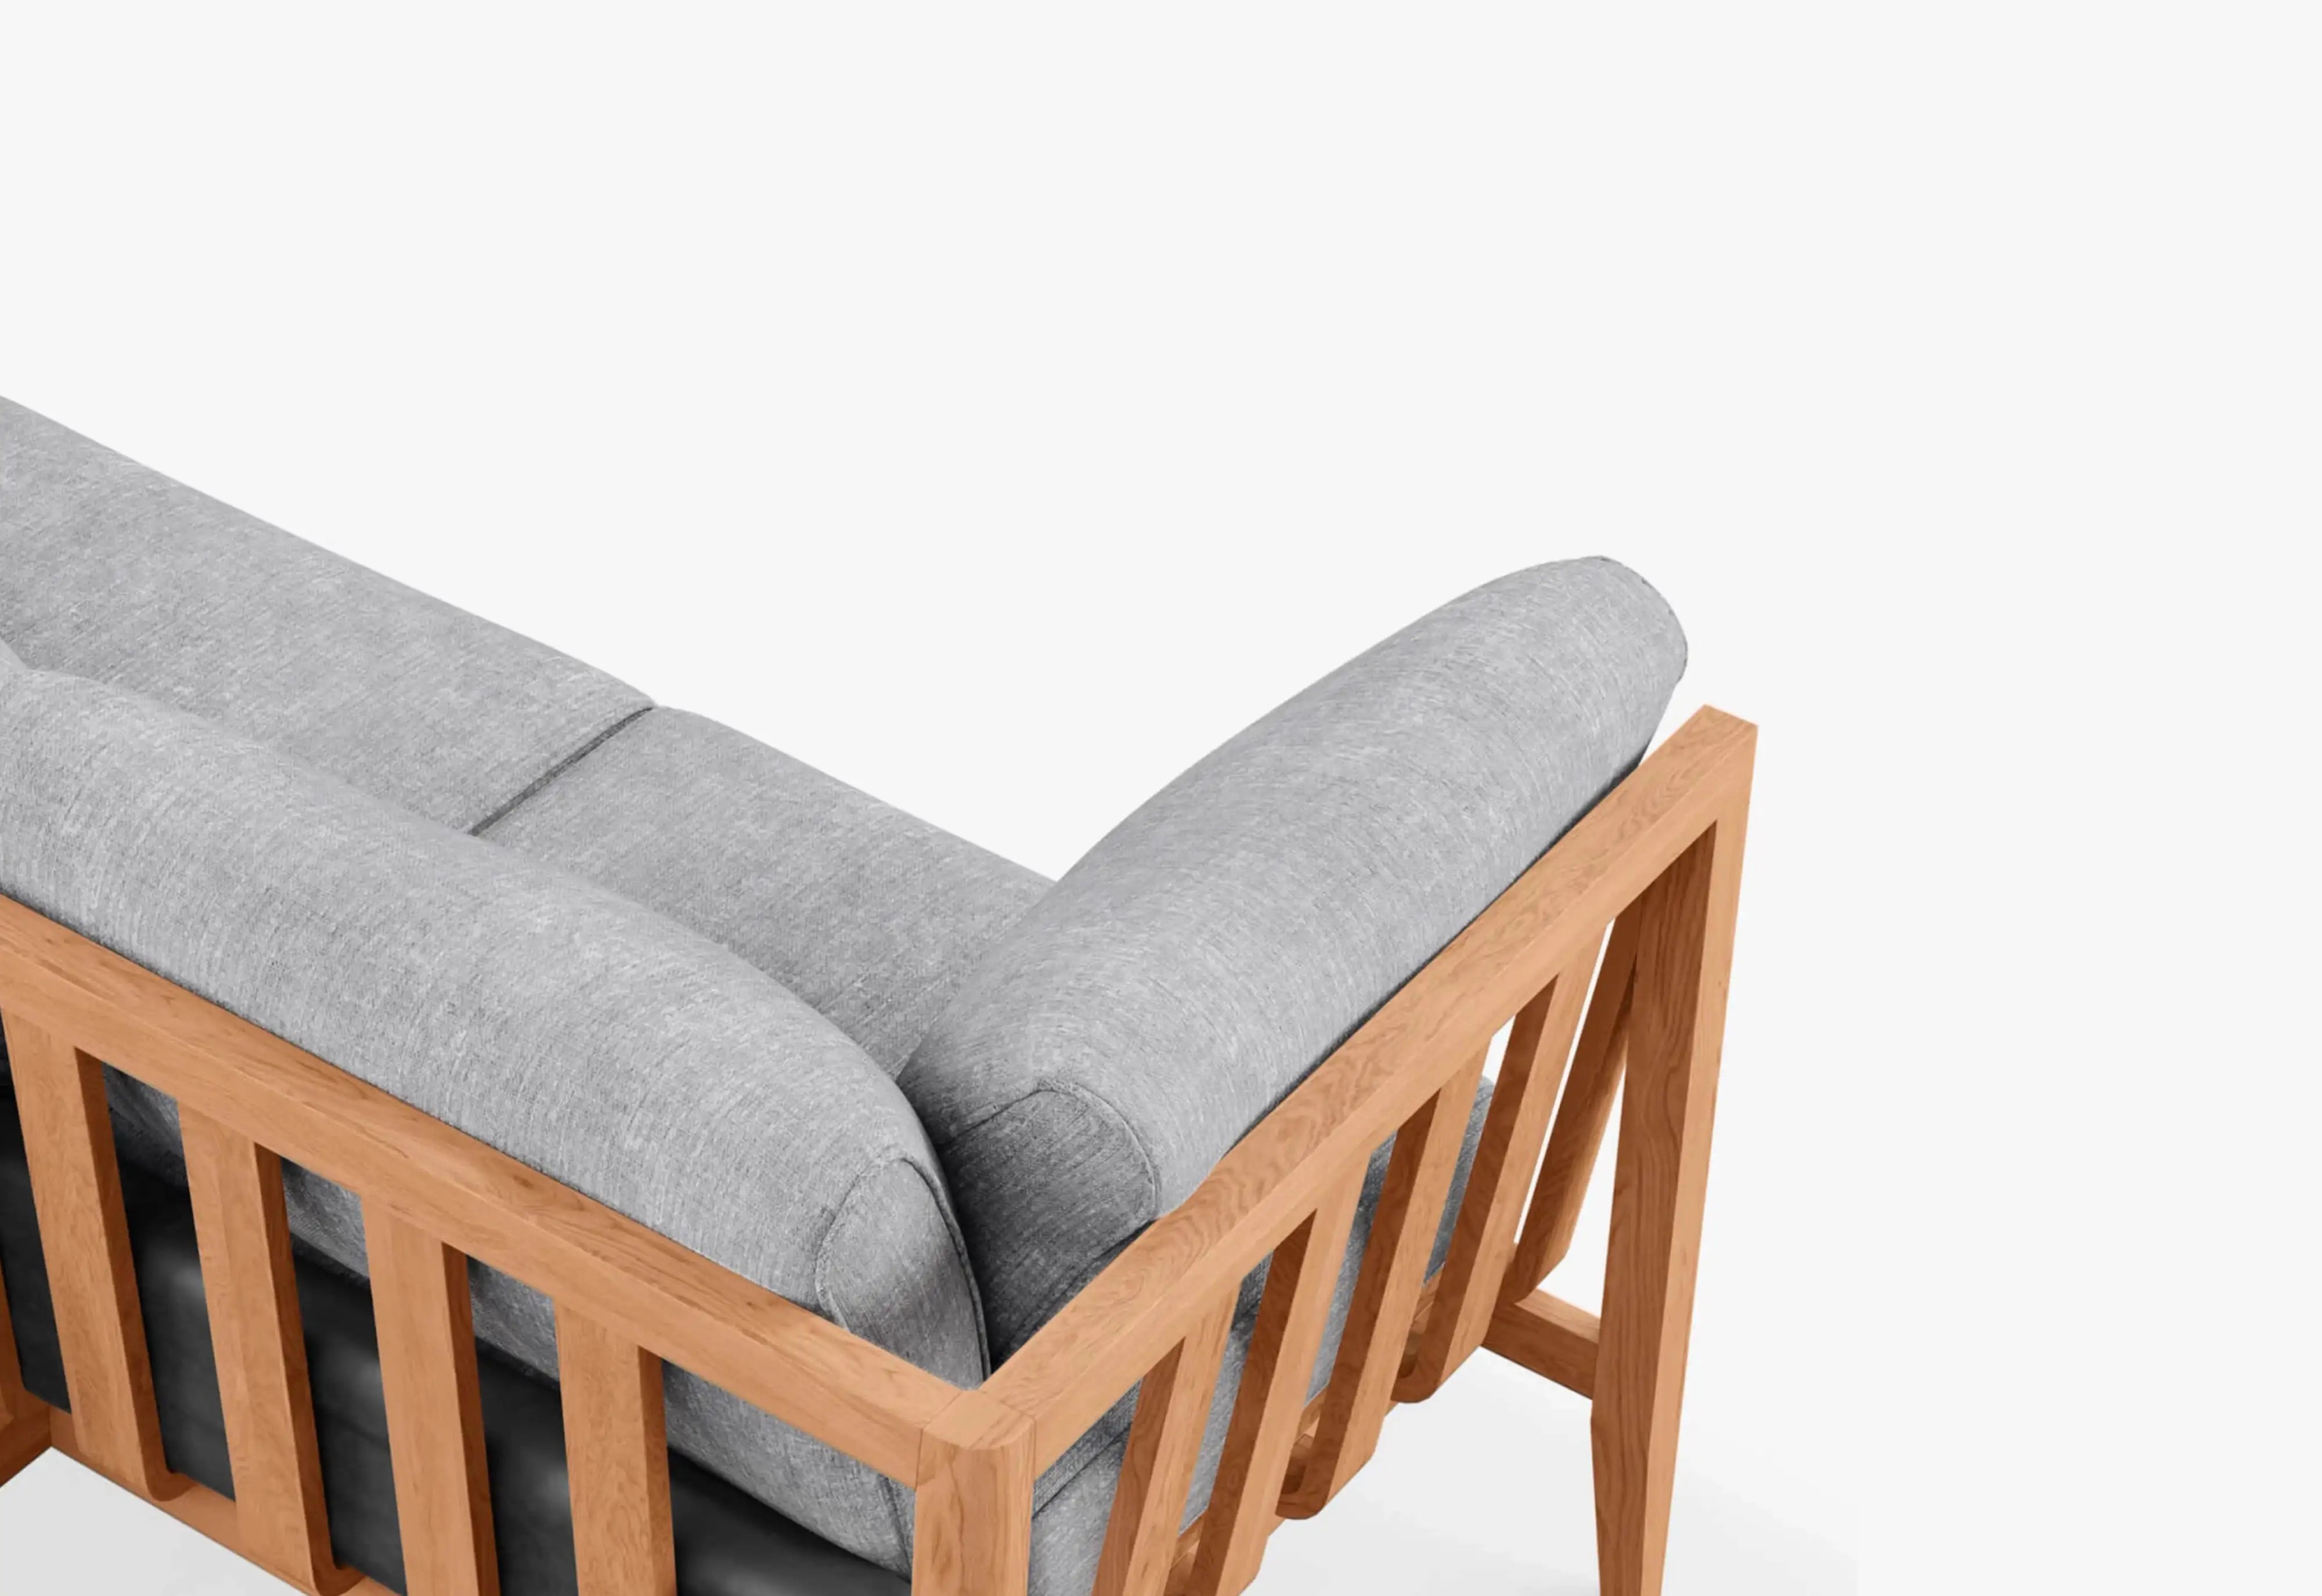
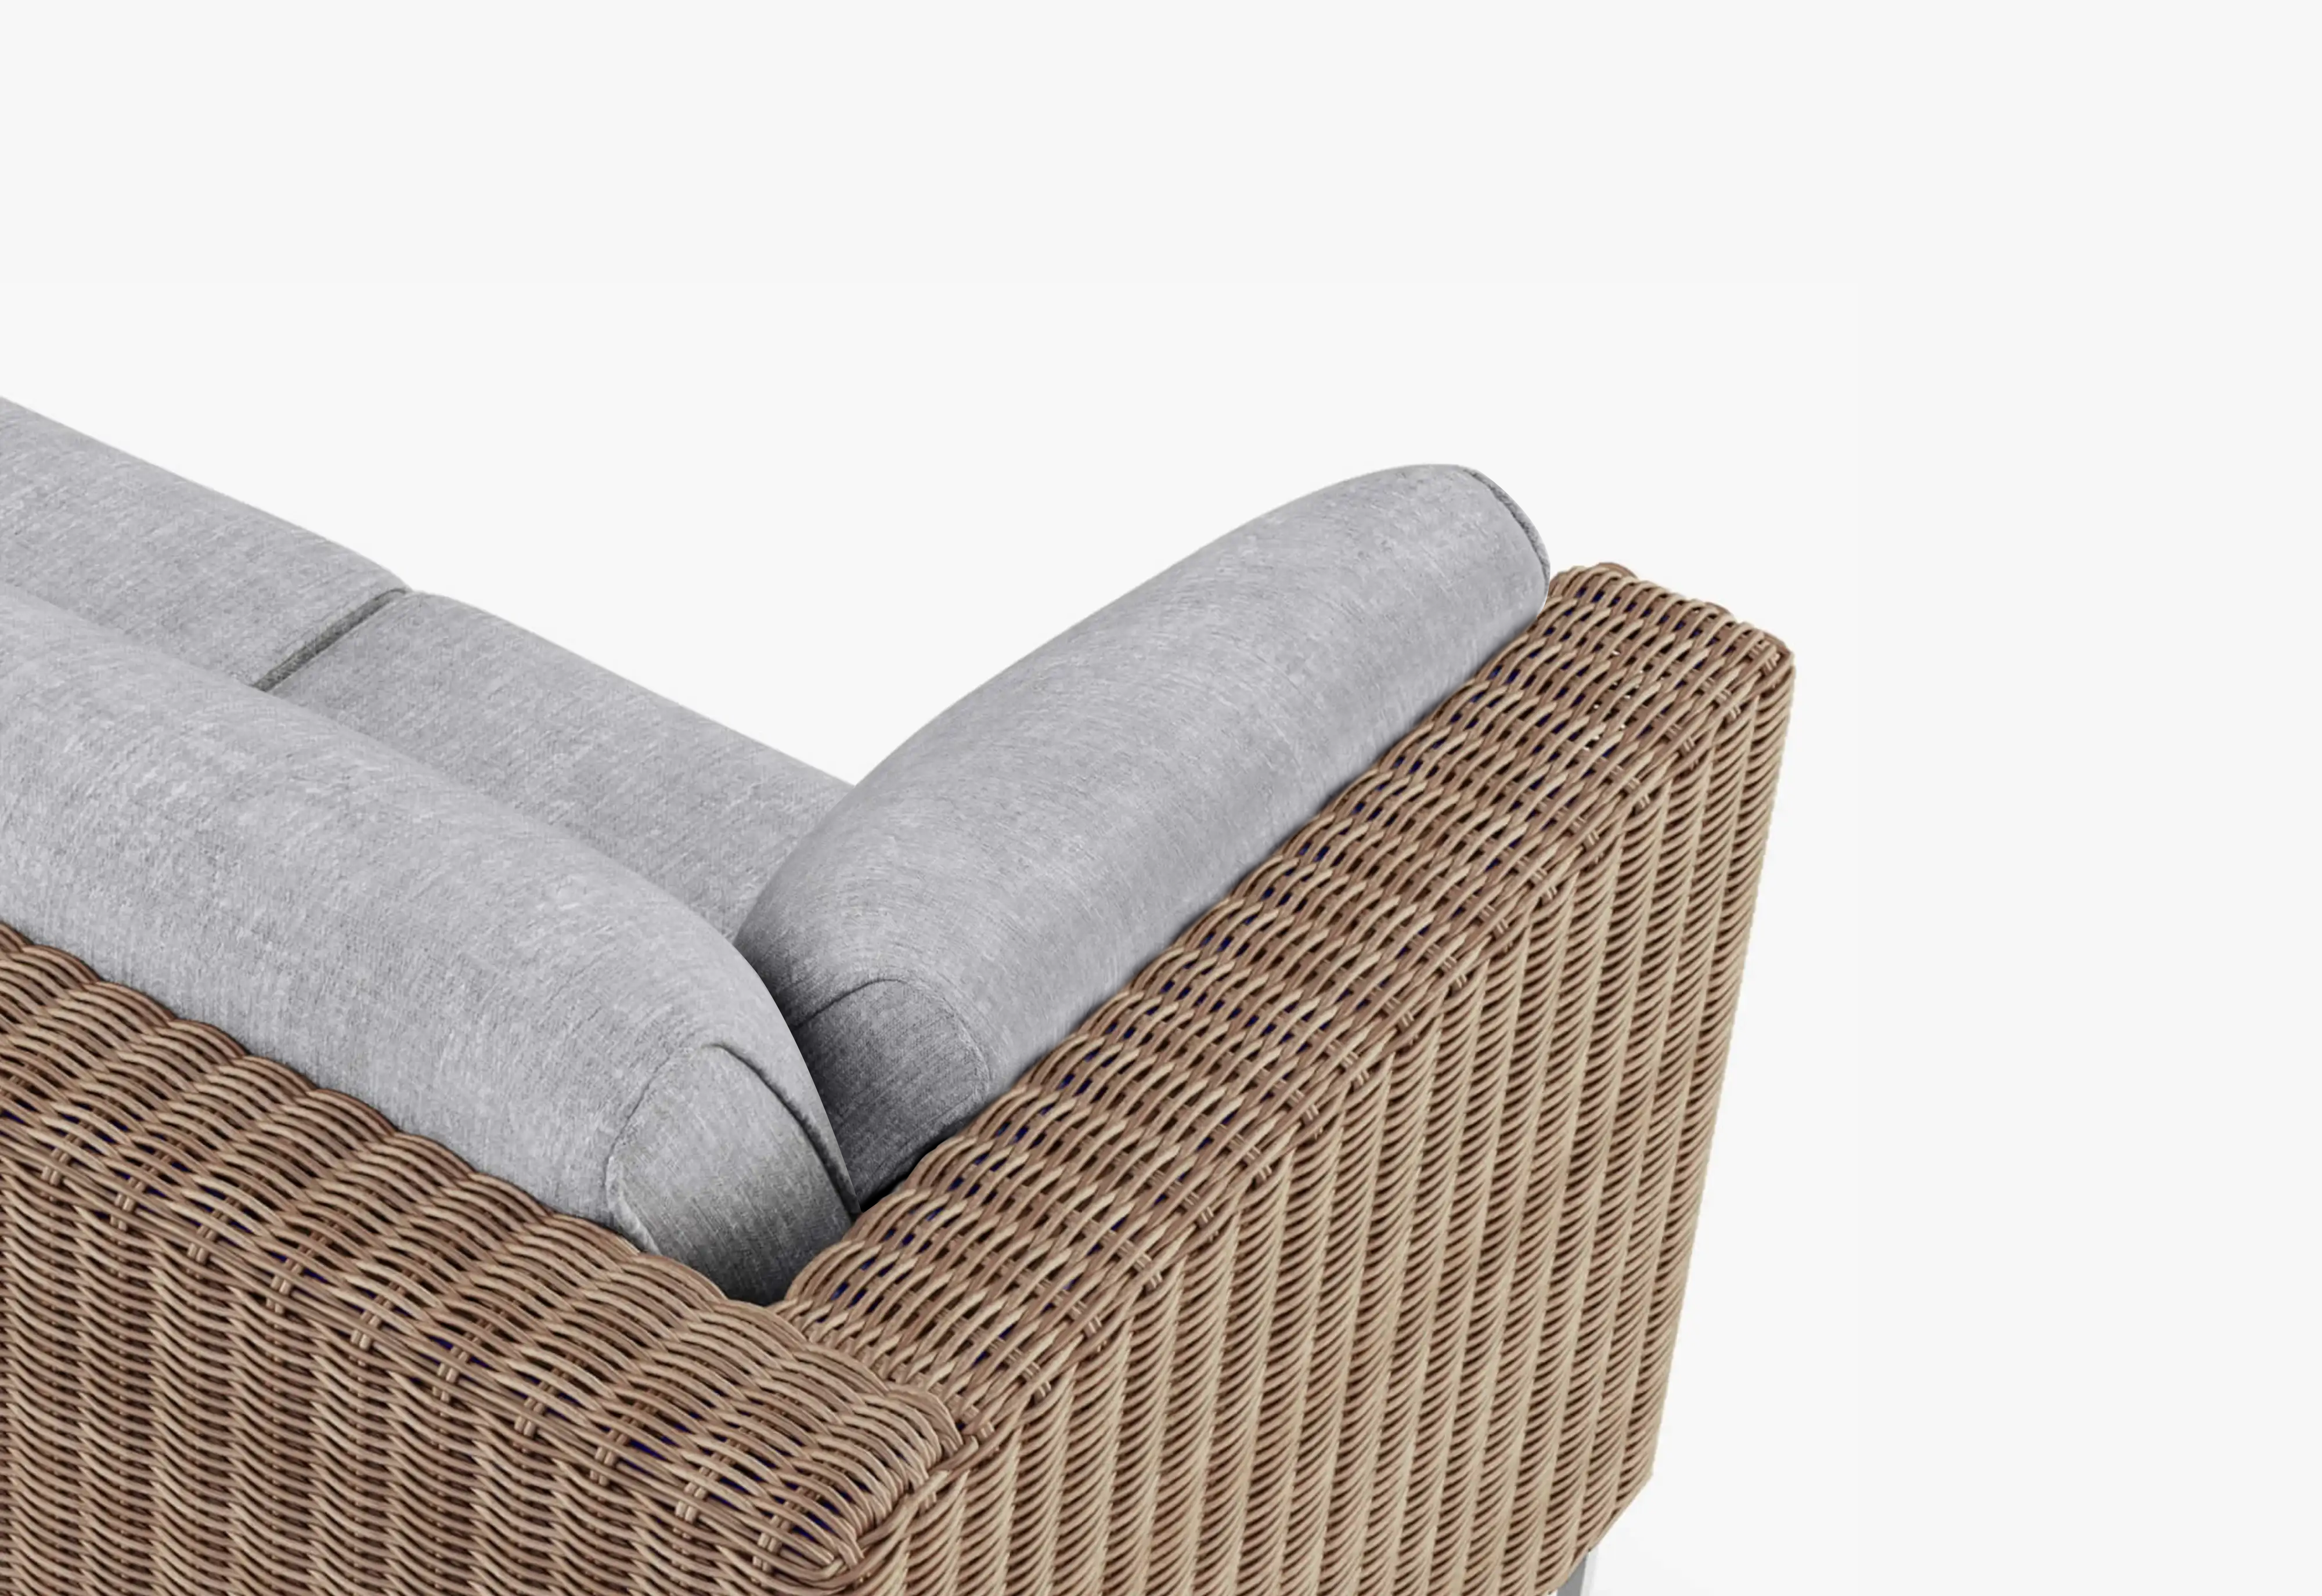
A rectangular pit mirrors the length of a sofa and keeps a narrow patio visually organized. Two opposing sofas create a conversation-focused layout, while one sofa with two lounge chairs leaves a more generous entry.
Warmth, seating, serving, and movement should work as one.
Natural warmth becomes part of outdoor living lifestyle.
DIY fire pit or finished fire pit table?
Neither route is automatically better. A DIY pit favors hands-on customization and a lower entry cost; a finished gas fire pit table favors predictable function, everyday surface area, and easier integration with patio furniture.
| Decision factor | DIY fire pit | Finished fire pit table |
|---|---|---|
| Best for | Hands-on projects, rustic yards, custom ground plans | Finished patios, regular entertaining, furniture-led layouts |
| Starting cost | Often lower for a simple wood-burning build | Higher upfront product and possible installation cost |
| Project time | Hours to several weekends, depending on excavation and masonry | Site and fuel planning, followed delivery, and qualified setup. |
| Fuel experience | Wood offers campfire character but creates smoke, sparks, and ash | Gas offers controlled ignition and no wood-ash cleanup |
| Table function | Usually limited; hot rims should not be treated as serving space | Designed to provide a usable surrounding surface; some convert fully when covered |
| Maintenance | Ash removal, drainage checks, masonry or metal inspection | Surface cleaning, burner care, fuel checks, and manufacturer-directed maintenance |
| Flexibility | Portable builds can move; masonry builds are effectively permanent | Shape and furniture plan are predictable, but the unit can be heavy |
| Safety path | You are responsible for material compatibility and build decisions | Listed components and instructions provide a defined installation and use path |
Stay with DIY if…
- You enjoy the construction process itself
- You want a campfire-style, wood-burning experience where allowed.
- Your space can support a dedicated non-combustible ground zone.
- You are comfortable checking material, permit, and maintenance requirements.
Consider a fire pit table if…
- You want the patio to work as a lounge even when the flame is off.
- You prefer controlled gas ignition and less fire cleanup.
- Your seating already suggests a round, square, or rectangular center.
- You would rather plan the room than construct the fire feature.
Three shapes. Three ways to gather.
If the comparison above leads you toward a finished fire pit table, the three shapes below correspond to the three seating layouts: round for conversation circles, square for compact patios, rectangular for sofa-led lanes.
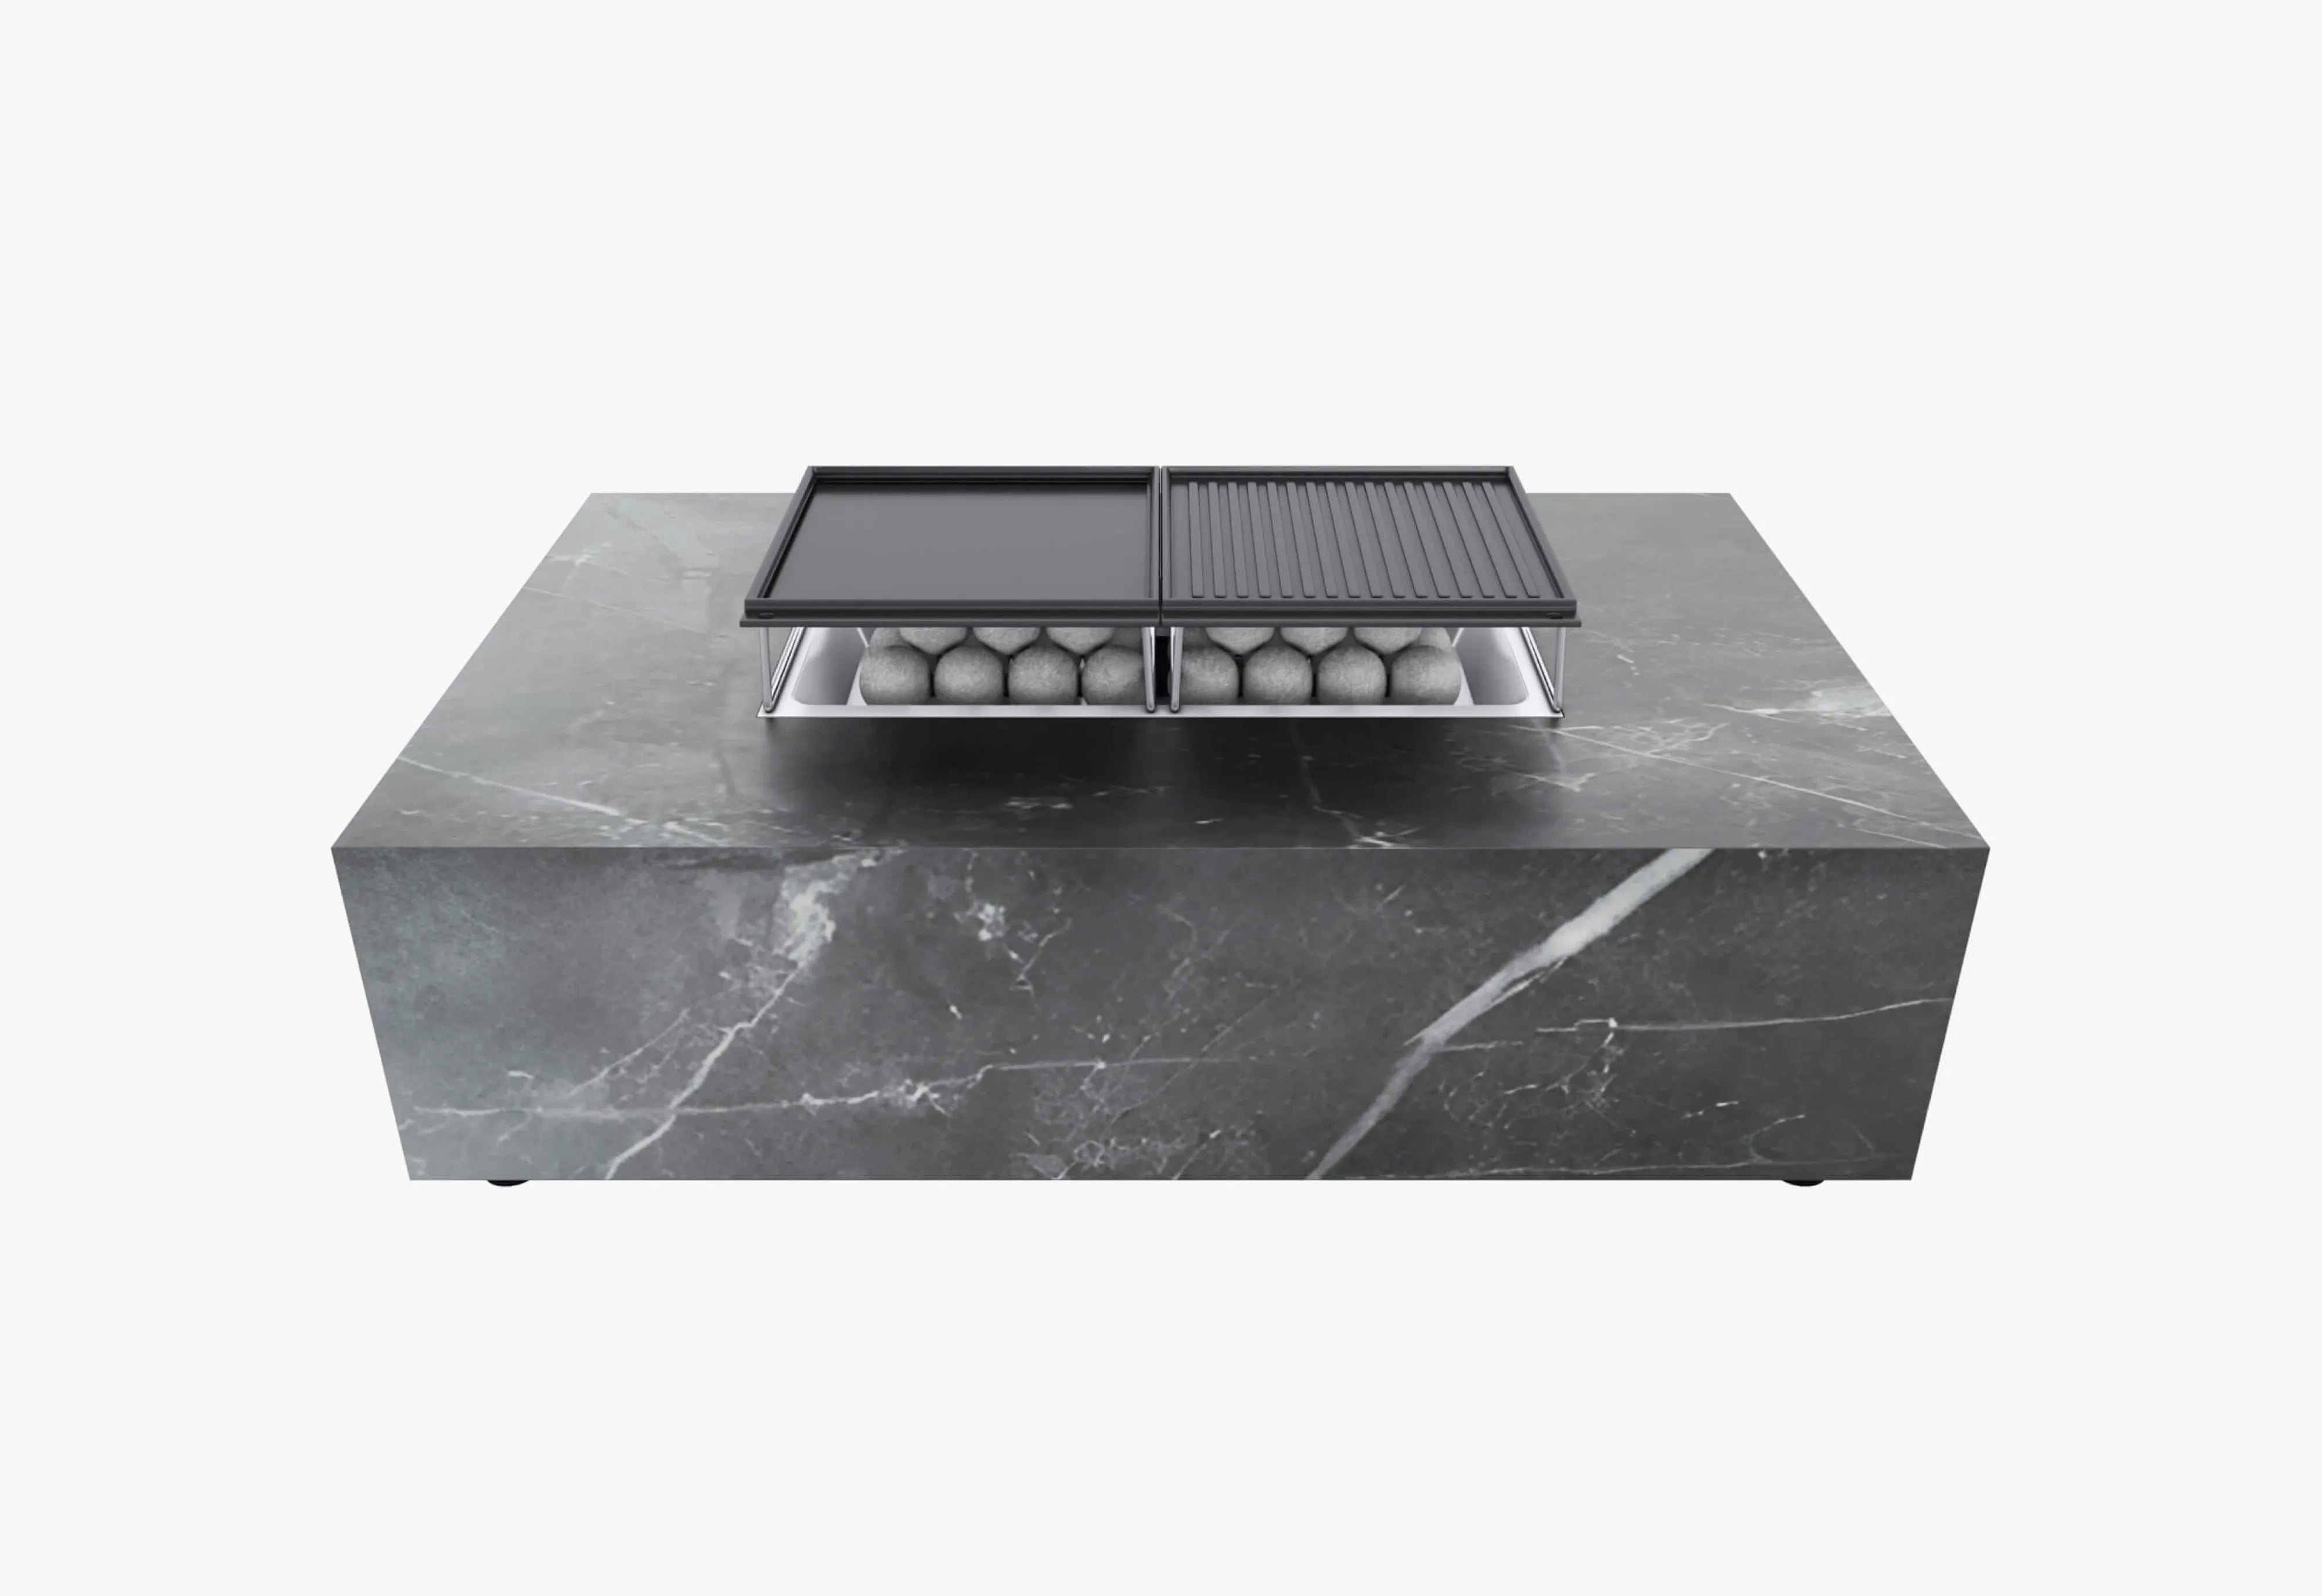
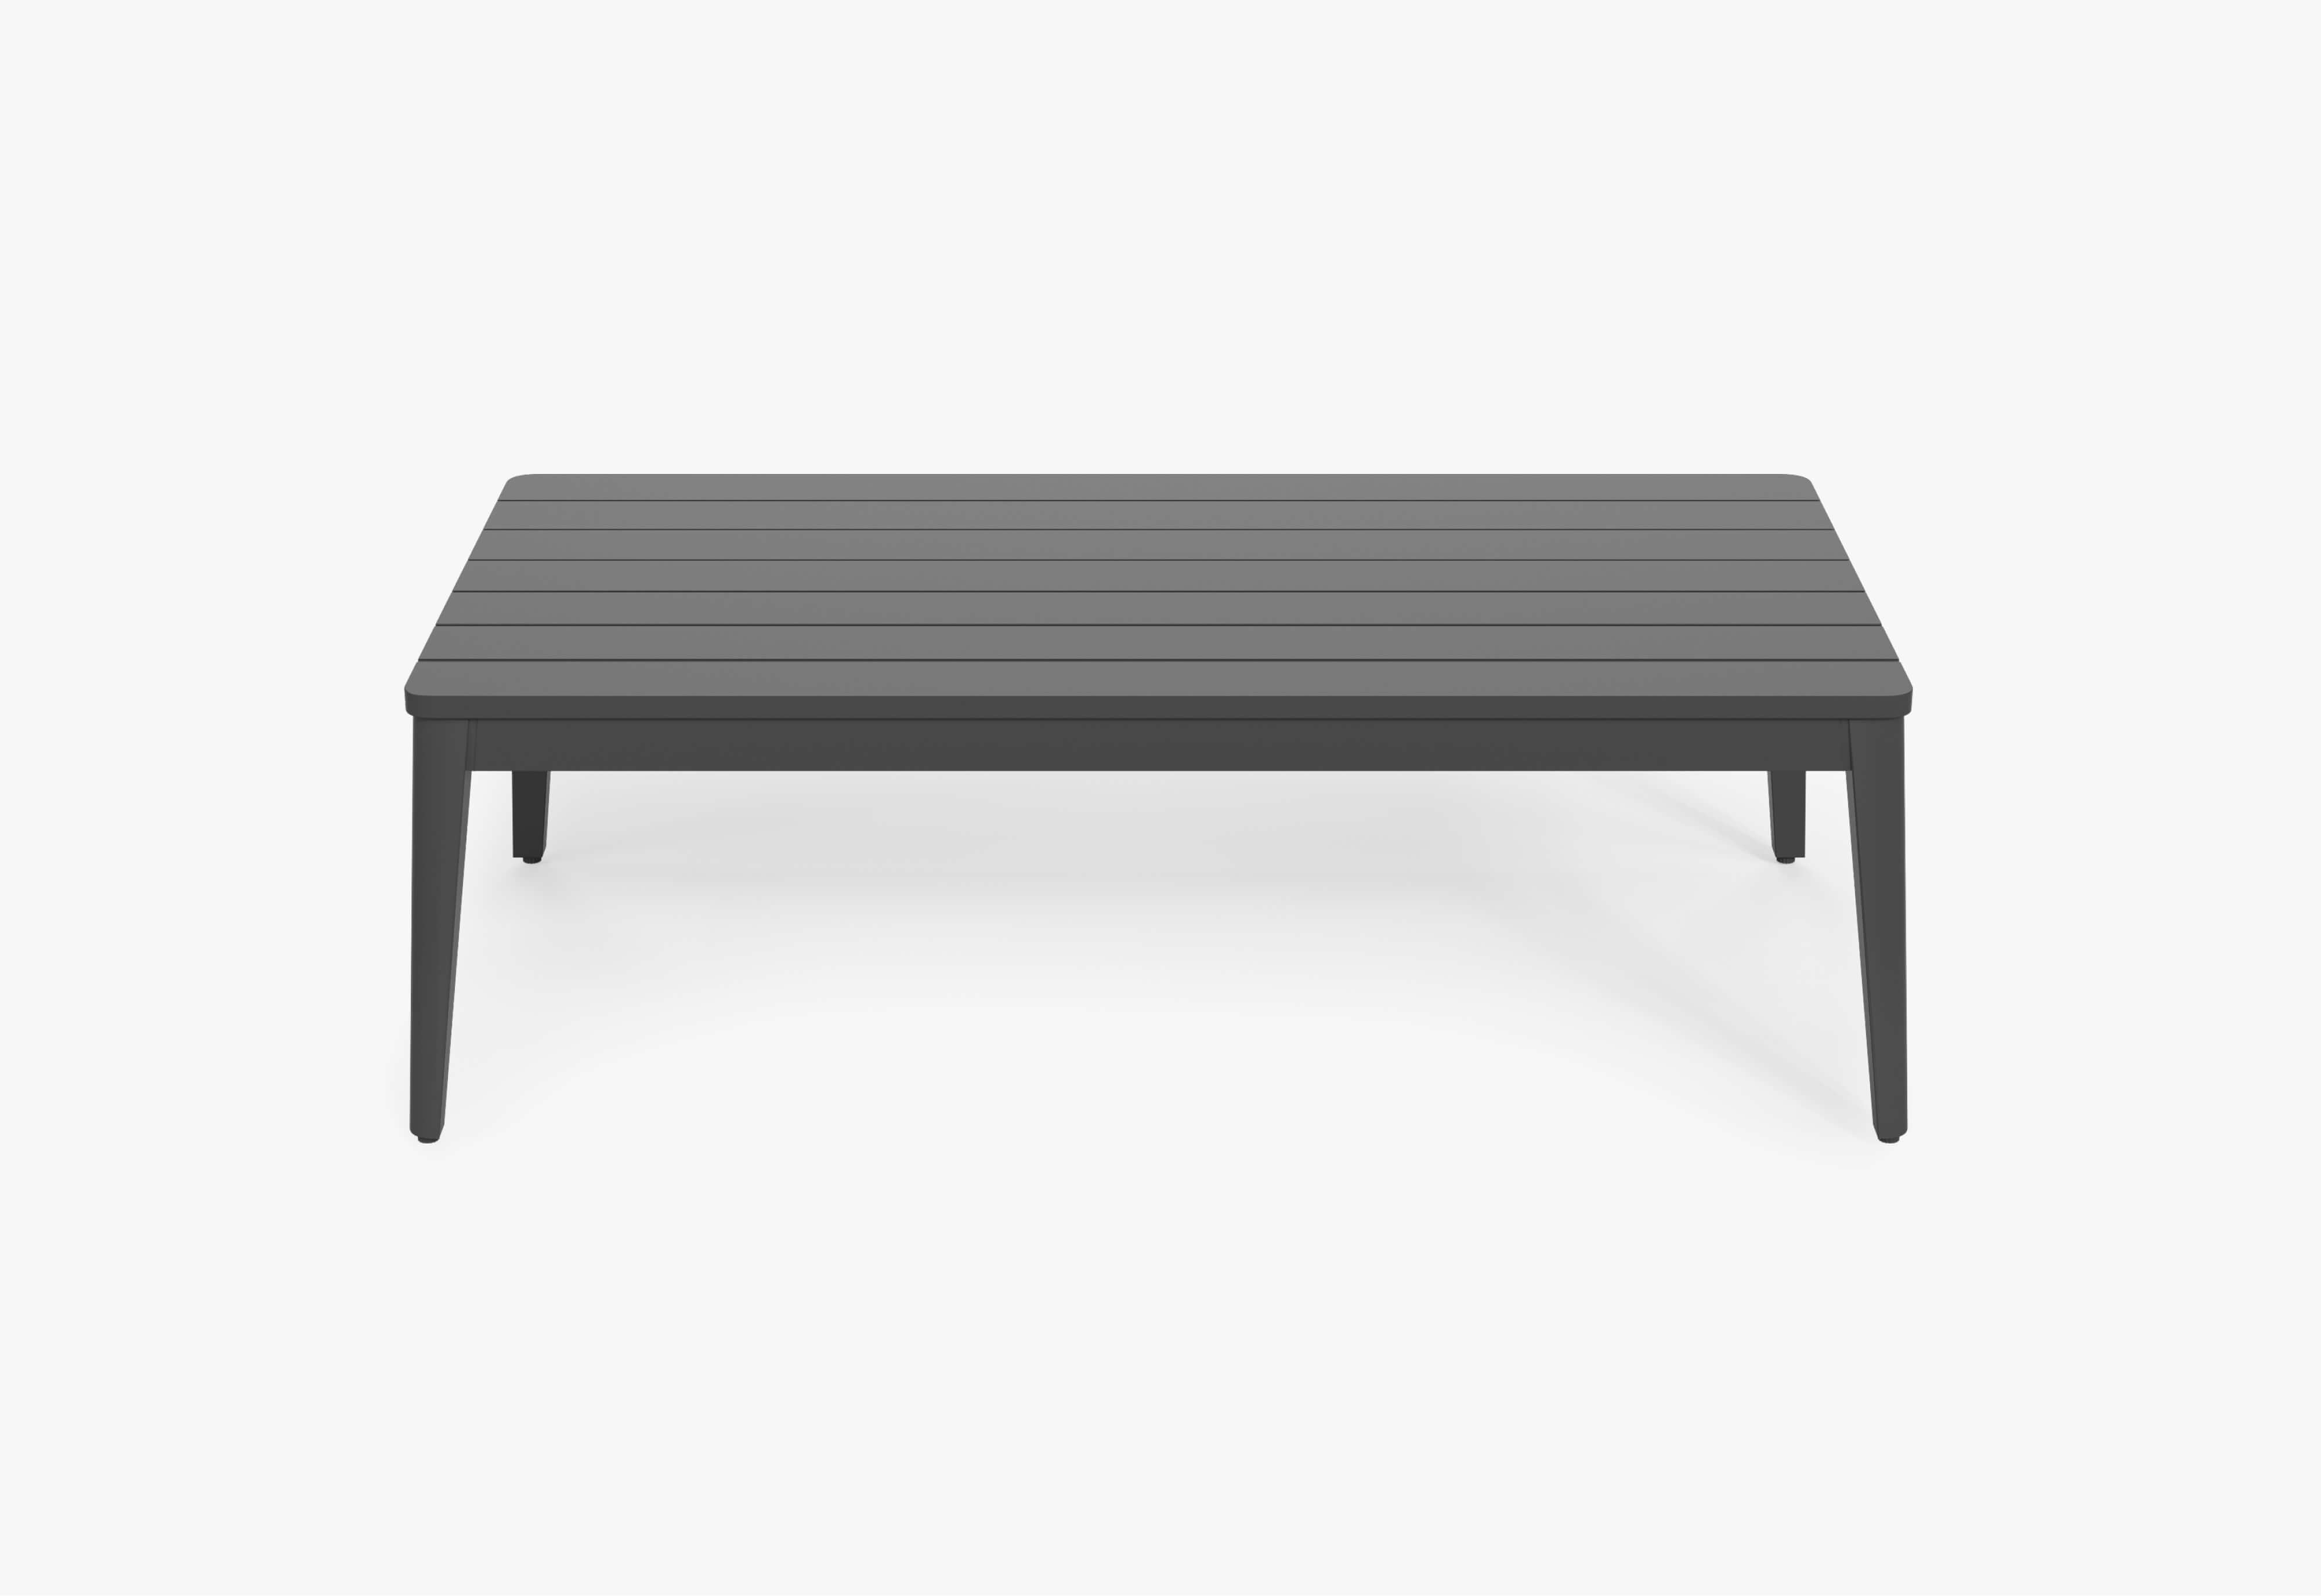
OuterStone Fire Pit — Rectangular
The long centerline mirrors a sofa or sectional, while the surrounding surface gives more guests a place for drinks and small plates.
View the rectangular fire pit →Concrete Fire Pit Table — Round
For four to six individual chairs and an open, sociable arrangement.
View round →OuterStone Fire Pit — Square
For paired lounge chairs or a balanced modular plan on a smaller patio.
View square →The safety check begins before the shopping list.
A beautiful fire pit is still the wrong fire pit if its fuel, materials, ventilation, base, or location are unsuitable. Treat the points here as prompts—not as a replacement for local code, product instructions, permits, or professional advice.
Confirm city, county, fire authority, and HOA requirements for open flame, burn bans, permits, fuel type, and operating hours.
Use the appropriate utility-locating service before excavation, and verify private lines that may not be covered.
Do not assume landscaping block, river rock, decorative concrete, reused metal, or tabletop vessels can tolerate flame and thermal cycling.
Use the greater of local requirements and the instructions for the fire pit, insert, burner, fuel, surface, and overhead condition.
Keep children and pets supervised, prevent trip routes through the fire area, and keep appropriate extinguishing equipment accessible.
Never leave active or hot equipment unattended. Dispose of ash and store fuel only as directed after everything has fully cooled.
Safety information varies by jurisdiction, product, fuel, weather, and site. Always follow current local guidance and the manufacturer’s manual. Gas connections and complex structural or landscape work may require qualified professionals.
DIY backyard fire pit FAQ
What is the easiest DIY fire pit to build?
For many beginners, the easiest project is a level gravel or paver base with a purpose-built metal ring or insert and a simple fire-rated masonry surround. It avoids poured concrete and complicated forms, but still requires local-rule checks, suitable materials, a stable base, and the specified clearances.
What is the most cost-effective way to make a backyard fire pit area look better?
If the existing fire feature is already safe, improve the ground plane and layout first. A defined gravel area, crisp edging, repeated chair styles, two movable side tables, and one clear entry path usually make a greater visual difference than adding more small decorations.
Can I use regular pavers or cinder blocks for a fire pit?
Do not assume ordinary landscaping pavers or concrete blocks are suitable for direct flame or repeated high heat. Materials can crack or spall. Confirm the product is rated for the intended use and build around a compatible fire ring, firebox, liner, or heat barrier as required.
How much room do I need around a fire pit?
There is no single distance that fits all design. The minimum depends on the fire pit, fuel, heat output, surface, nearby structures, vegetation, overhead conditions, and local requirements. Begin with the manufacturer’s instructions and local code, then add room for chairs to move and for guests to circulate without entering the heat zone.
What seating layout works best around a fire pit?
A round pit works naturally with four to six individual chairs. A square pit suits four-sided or modular arrangements. A rectangular pit aligns best with a sofa, opposing sofas, or one sofa plus two lounge chairs. In every layout, keep one obvious opening for entry.
Is a DIY fire pit or a gas fire pit table better?
Choose DIY when you want a hands-on project, a custom ground plan, or a wood-burning campfire experience where permitted. Consider a gas fire pit table when you want controlled ignition, less ash cleanup, a usable tabletop, and a predictable shape around which to plan furniture.
Can I put a fire pit on a deck or covered patio?
Use a fire pit on a deck or near overhead structures only when the manufacturer and local regulations allow that exact setup. Most demand open air, non-combustible surfaces, and adequate clearance.
What should I do with a small backyard?
Use a compact round or square conversation plan, limit the number of furniture pieces, preserve one clear path, and avoid forcing a permanent pit into a space that cannot meet its clearances. For more examples, see our small backyard fire pit ideas.