


Engineered for Every Season: Low-Smoke Fire Pit Seating Clearances for the Modern Patio

A low-smoke fire pit has a way of making outdoor time feel easier—less shifting away from drifting smoke, more staying present in the conversation. But even the best fire feature only feels “effortless” when the layout is right. Seating clearances determine comfort, heat level, traffic flow, and—most importantly—safety.
This guide breaks down practical, real-life spacing principles for arranging seating around a low-smoke fire pit in a way that feels relaxed and design-forward, season after season. Clearances vary by model, fuel type, and local code, so consider these ranges a starting point and always follow your fire pit’s manufacturer instructions.
Start With Two Clearances: Comfort Distance and Safety Distance
When planning a fire pit zone, it helps to think in two layers:
- Comfort distance is how far seating should be from the heat so guests can relax without leaning away or constantly repositioning.
- Safety distance is the minimum space needed to reduce risk near hot surfaces and open flame, including clearance from walls, railings, and anything combustible.
A great layout lands in the overlap—warm enough to feel cozy, far enough to feel calm.
Practical Seating Distances That Work in Real Life
For most fire pit seating zones, these ranges create a comfortable starting point:
- About 4–6 feet from flame to seated position for relaxed warmth (varies with pit size, wind, and output).
- About 18–24 inches between the fire pit edge and knees as a functional “legroom buffer” for lounge seating, especially when people stand up and sit down frequently.
Why these ranges tend to work: they leave enough room for heat to soften as it reaches the seating, while still keeping the group close enough for conversation. If you often host kids or pets, consider shifting toward the farther end of the range.
To explore shapes and sizes that influence spacing, start with the Fire Pits collection, then plan clearances based on the footprint of your specific model.
Keep a Clear “Walking Ring” Around the Fire Zone
The most common layout mistake is creating a beautiful circle of chairs with no place to move. A fire pit area feels instantly more livable when you reserve a clean circulation path.
- Aim for 24–36 inches of walkway clearance behind primary seating when possible, especially in high-traffic patios.
- Keep at least one obvious entry point so guests can join the circle without stepping between chairs and heat.
This is where modular layouts shine—especially in tighter spaces—because you can “open” the circle without sacrificing the overall gathering feel.
Plan for Smoke Direction, Even With Low-Smoke Designs
Low-smoke does not mean no-smoke. Wind still matters, and good seating clearance planning includes airflow.
- Angle the opening of your seating arc toward the most common wind direction so smoke moves away from faces.
- Avoid placing the fire pit in a wind tunnel between tall walls, dense hedges, or tight architectural corners.
- Leave breathing room between the fire pit zone and vertical surfaces so air can circulate.
If your patio tends to catch gusts, a slightly larger seating radius often feels better than tightly clustering chairs closer to the flame.
Clearances From Walls, Railings, and Combustibles
Fire pits require safe spacing from anything that can trap heat or ignite—wood railings, pergola posts, outdoor curtains, furniture covers, or low overhangs. Because these requirements vary widely by product type and local code, always defer to the manufacturer’s required clearances.
As a general planning mindset:
- Keep your fire feature away from low-hanging elements and enclosed corners.
- Reserve extra buffer space if your patio has wood surfaces, composite decking, or nearby textiles.
- Don’t store covers, throws, or accessories right beside the fire pit—even if it looks tidy.
For a cleaner, safer end-of-night routine, consider storing textiles and cushions in a consistent “close-down” flow using protective systems like OuterShell® and, when appropriate, Covers—kept well away from the fire feature while it’s in use.
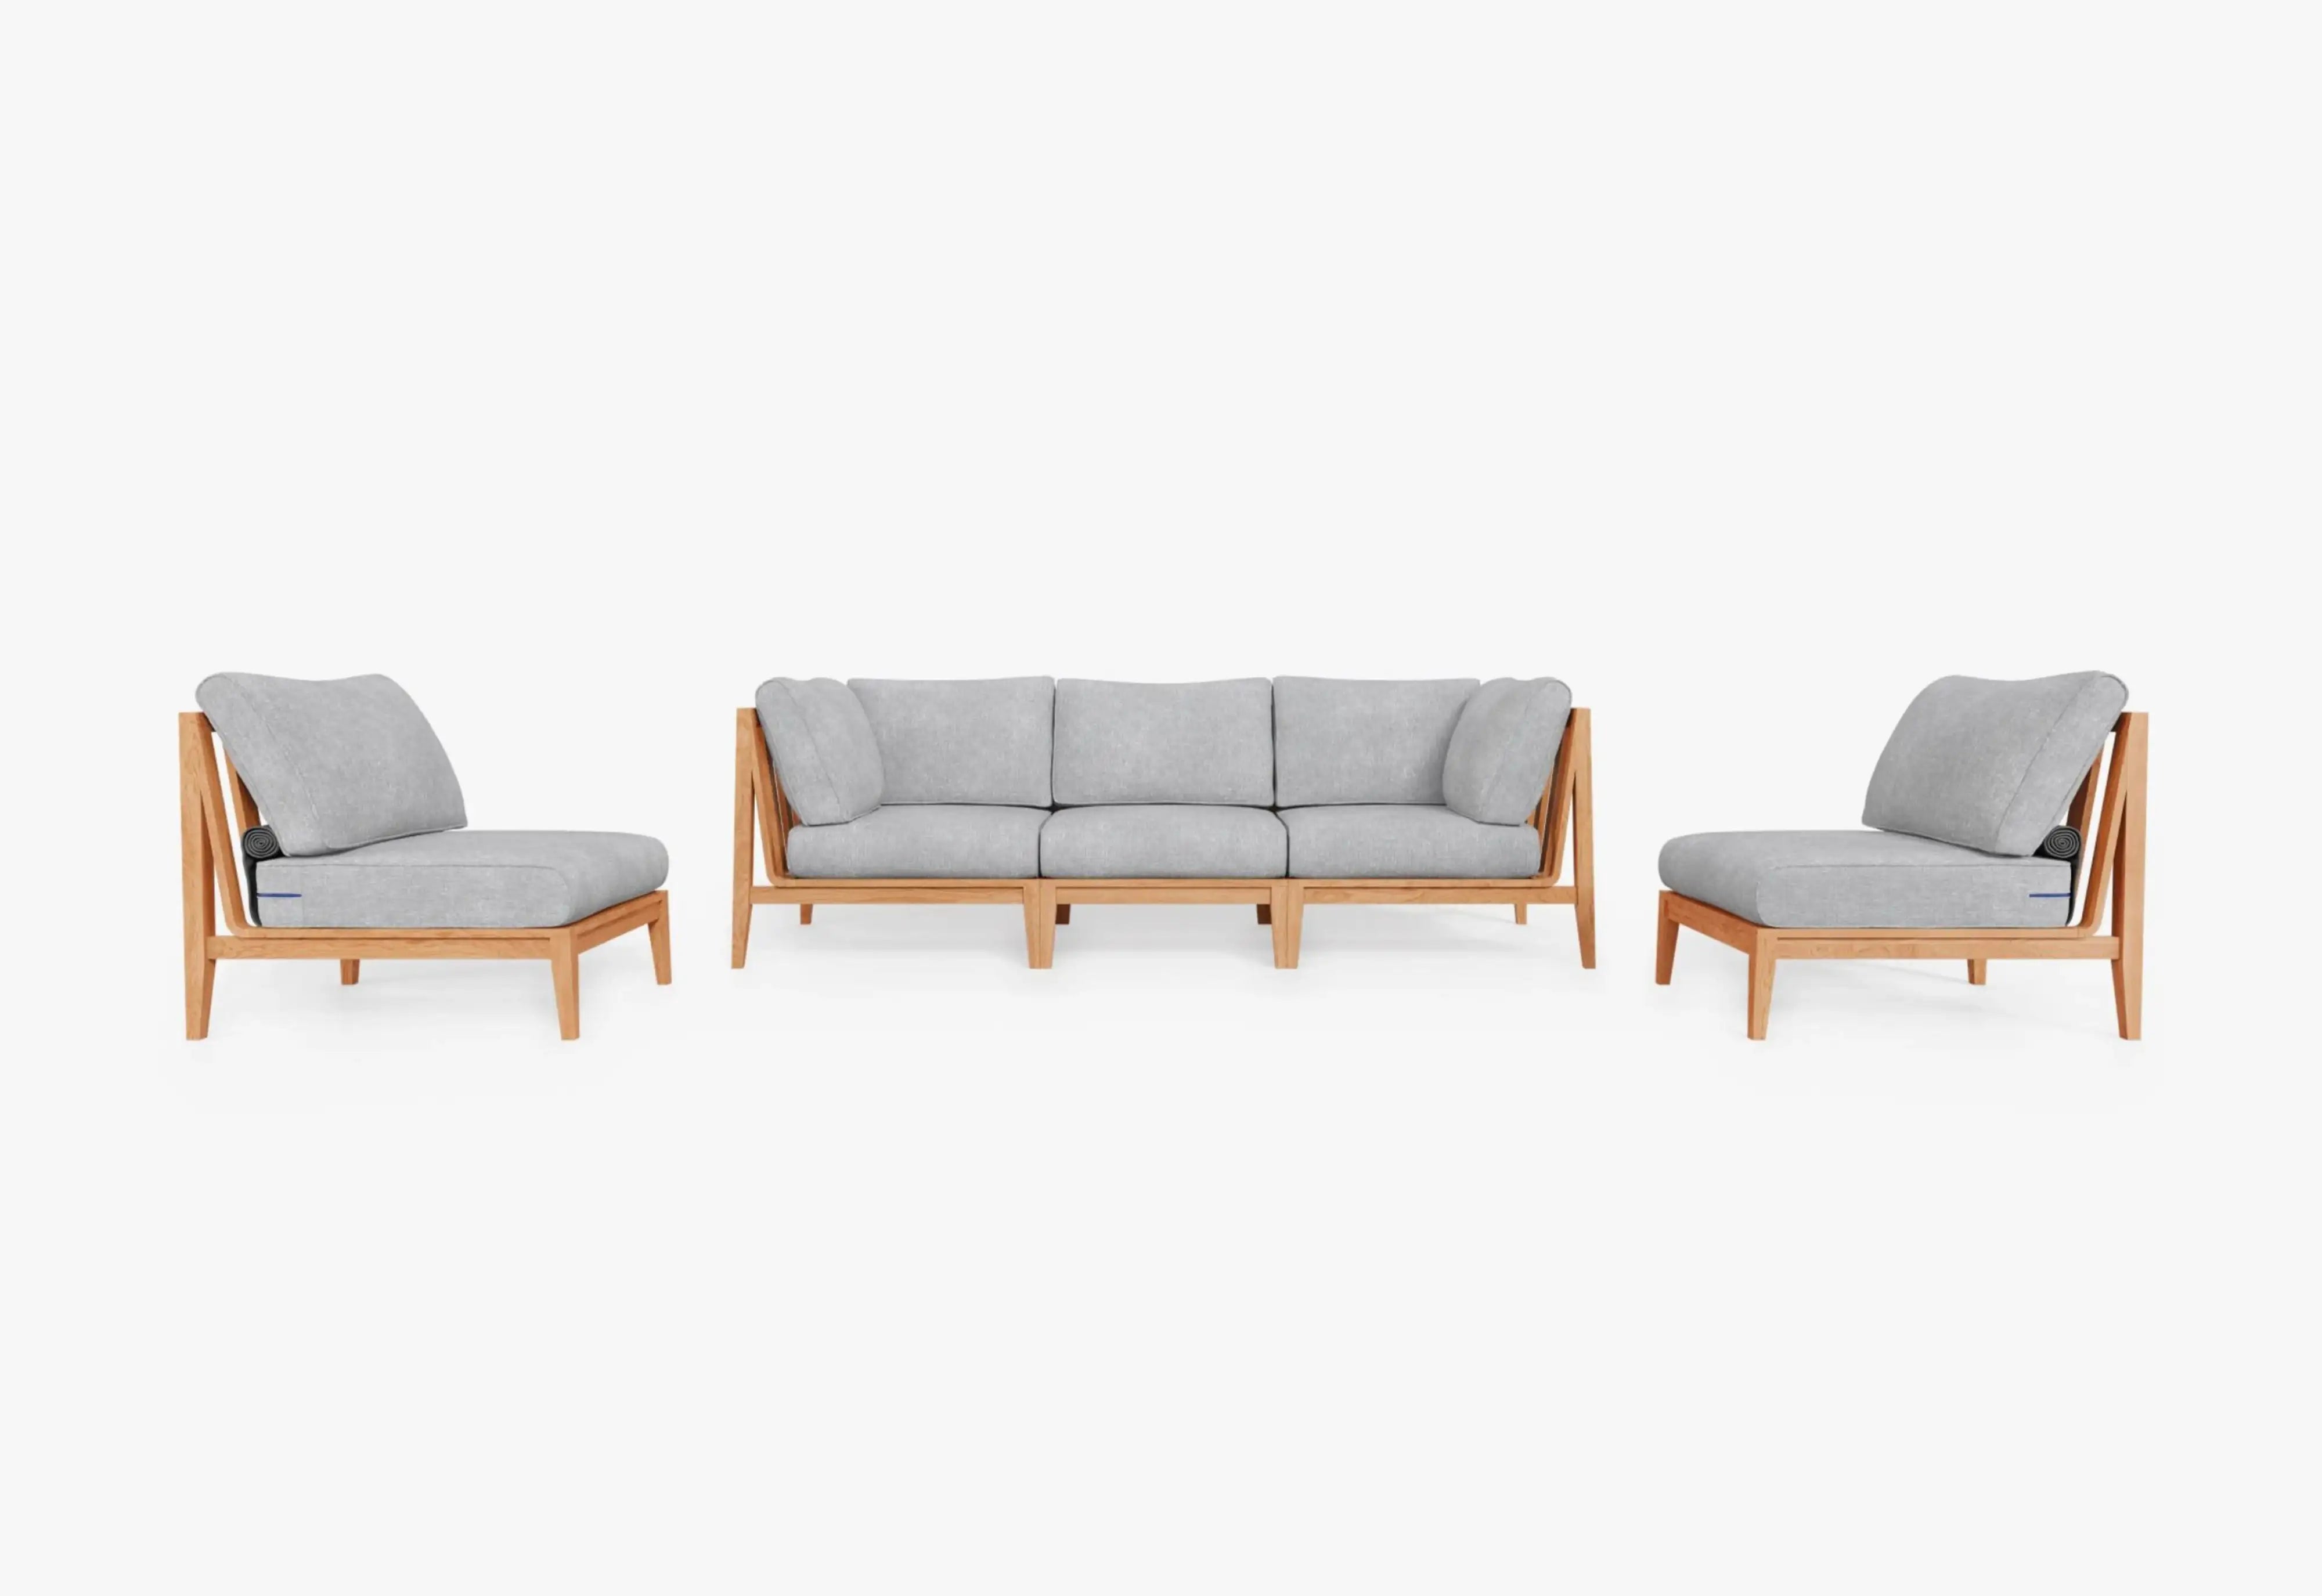
Choosing Seating Types That Make Clearances Feel Natural
Clearances don’t exist in a vacuum—your seating profile changes how those distances feel. Deep lounge seating needs more “stand-up space” than upright dining chairs, and low silhouettes often benefit from a slightly larger radius so guests don’t feel too close to heat.
Two styling directions that tend to work beautifully around a fire feature:
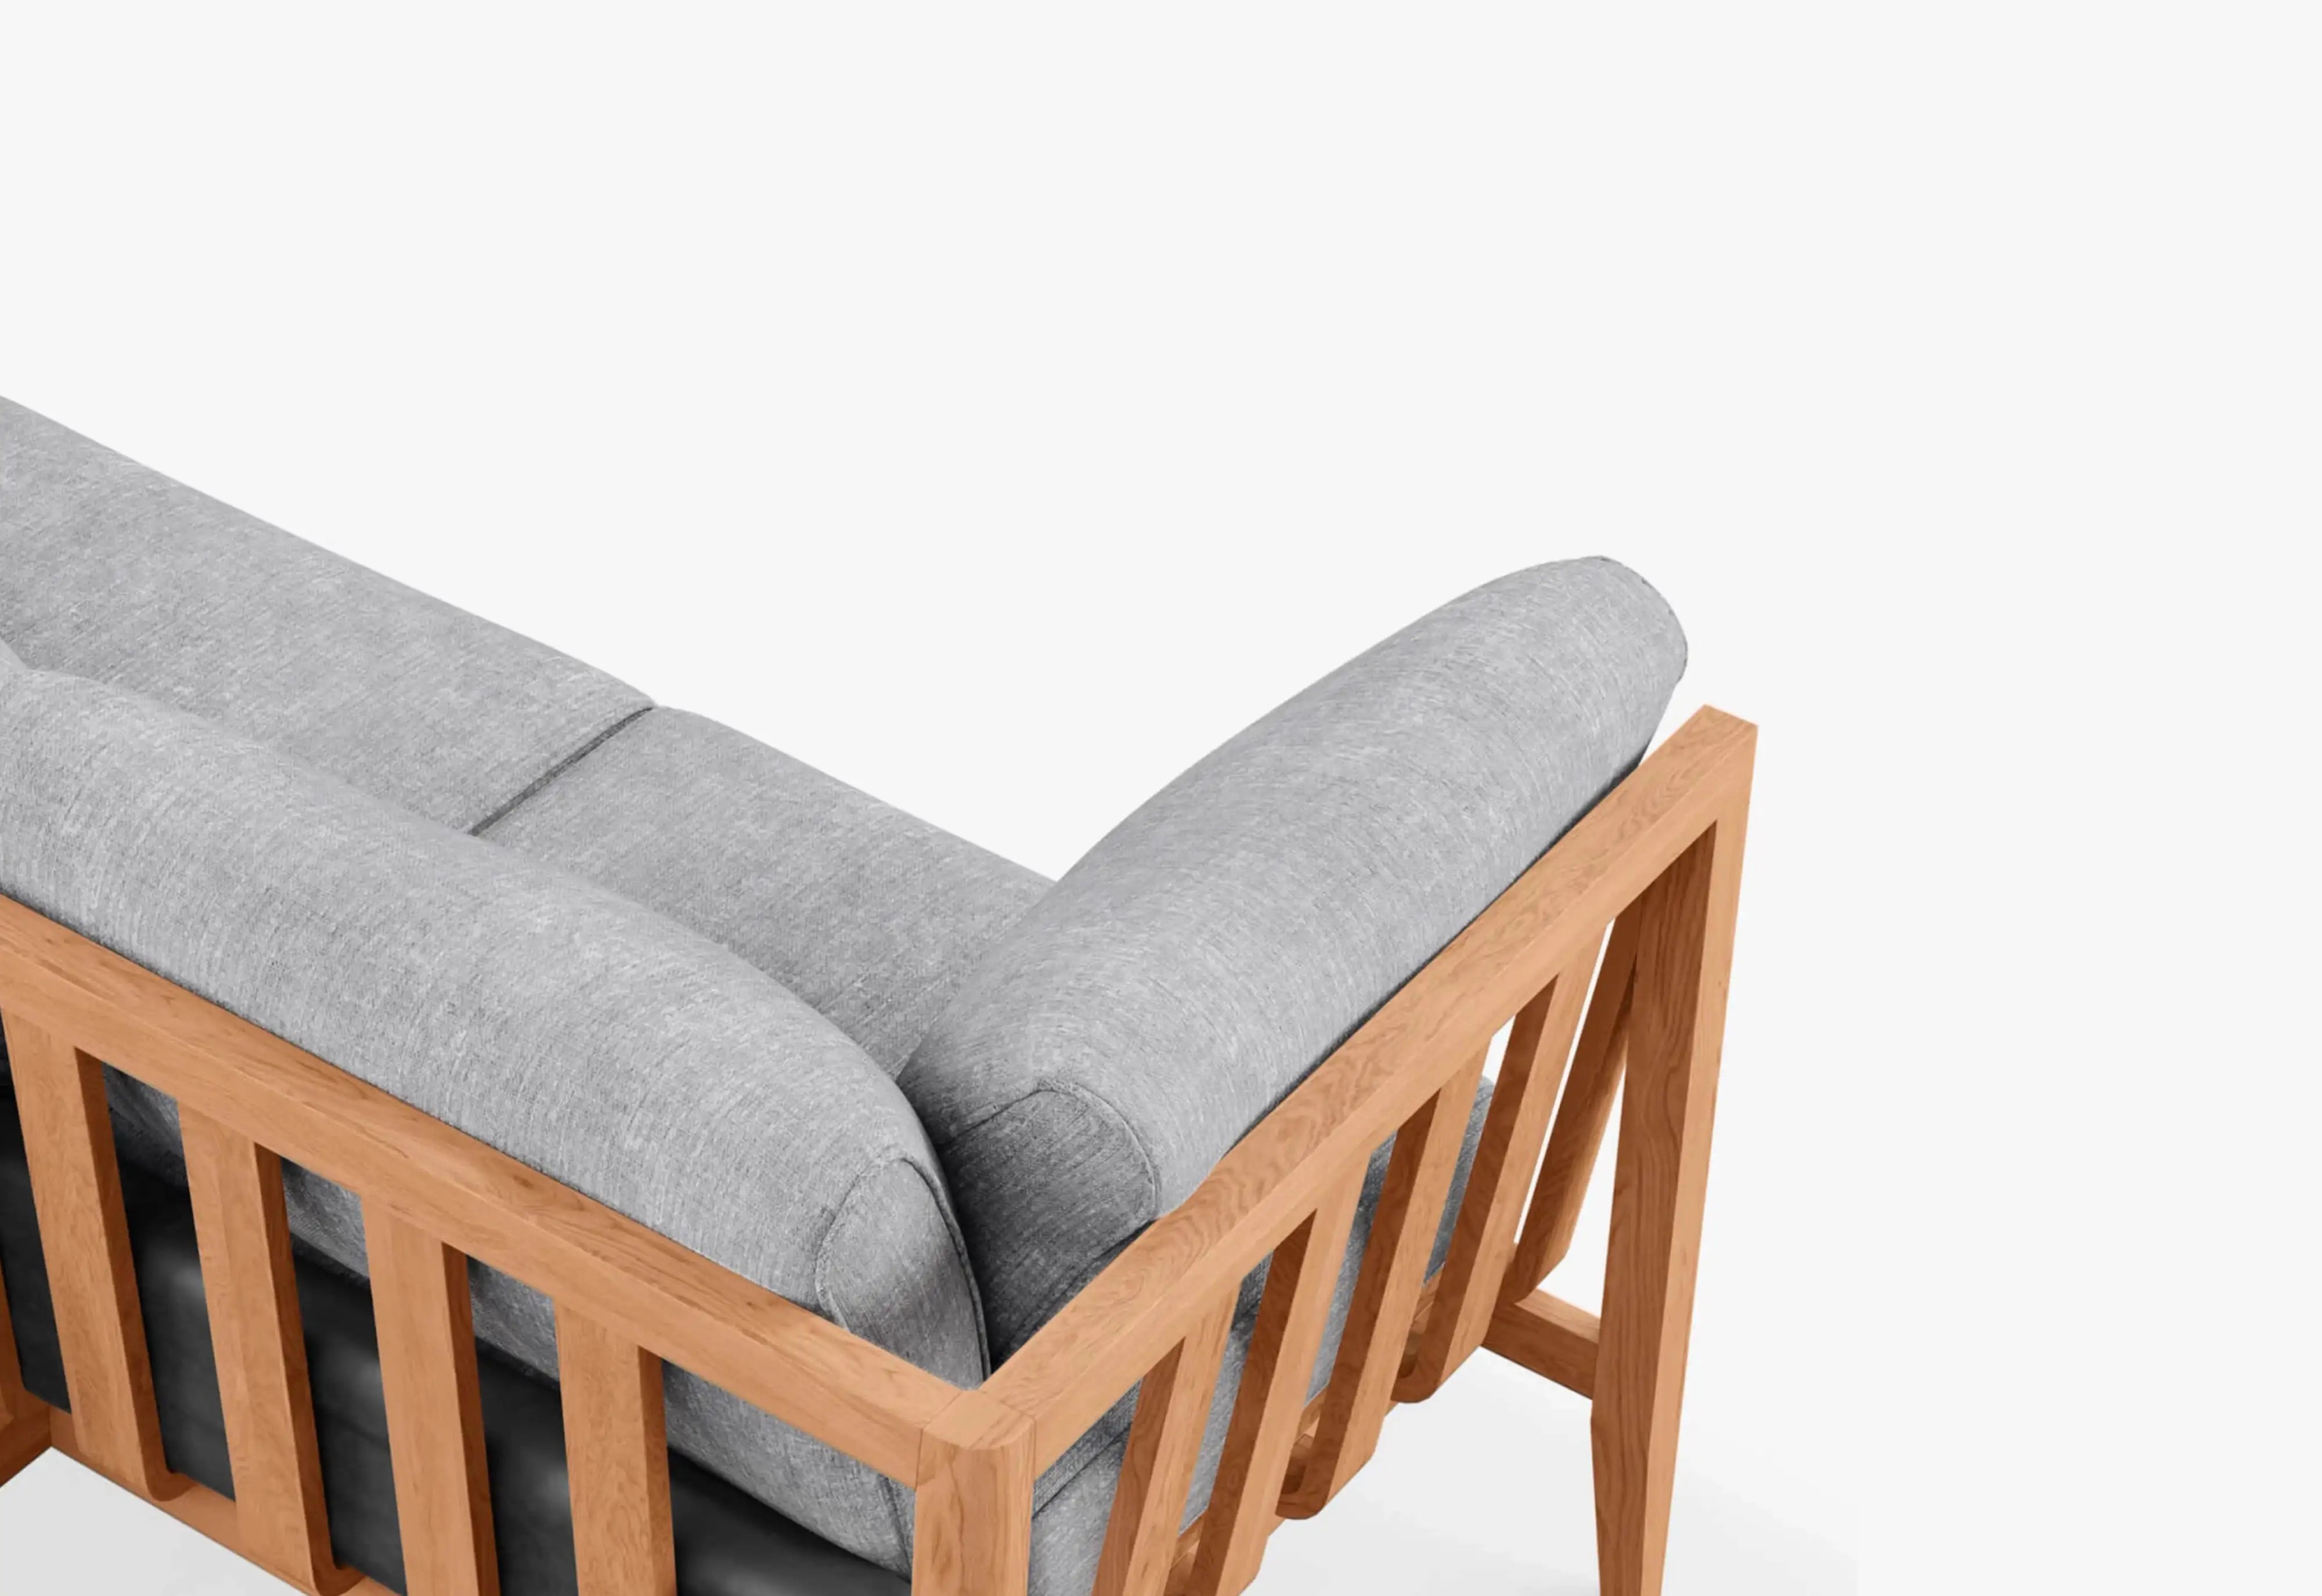
- Warm, grounded lounge zones anchored by natural texture, like pieces from the Teak Outdoor Sofa collection.
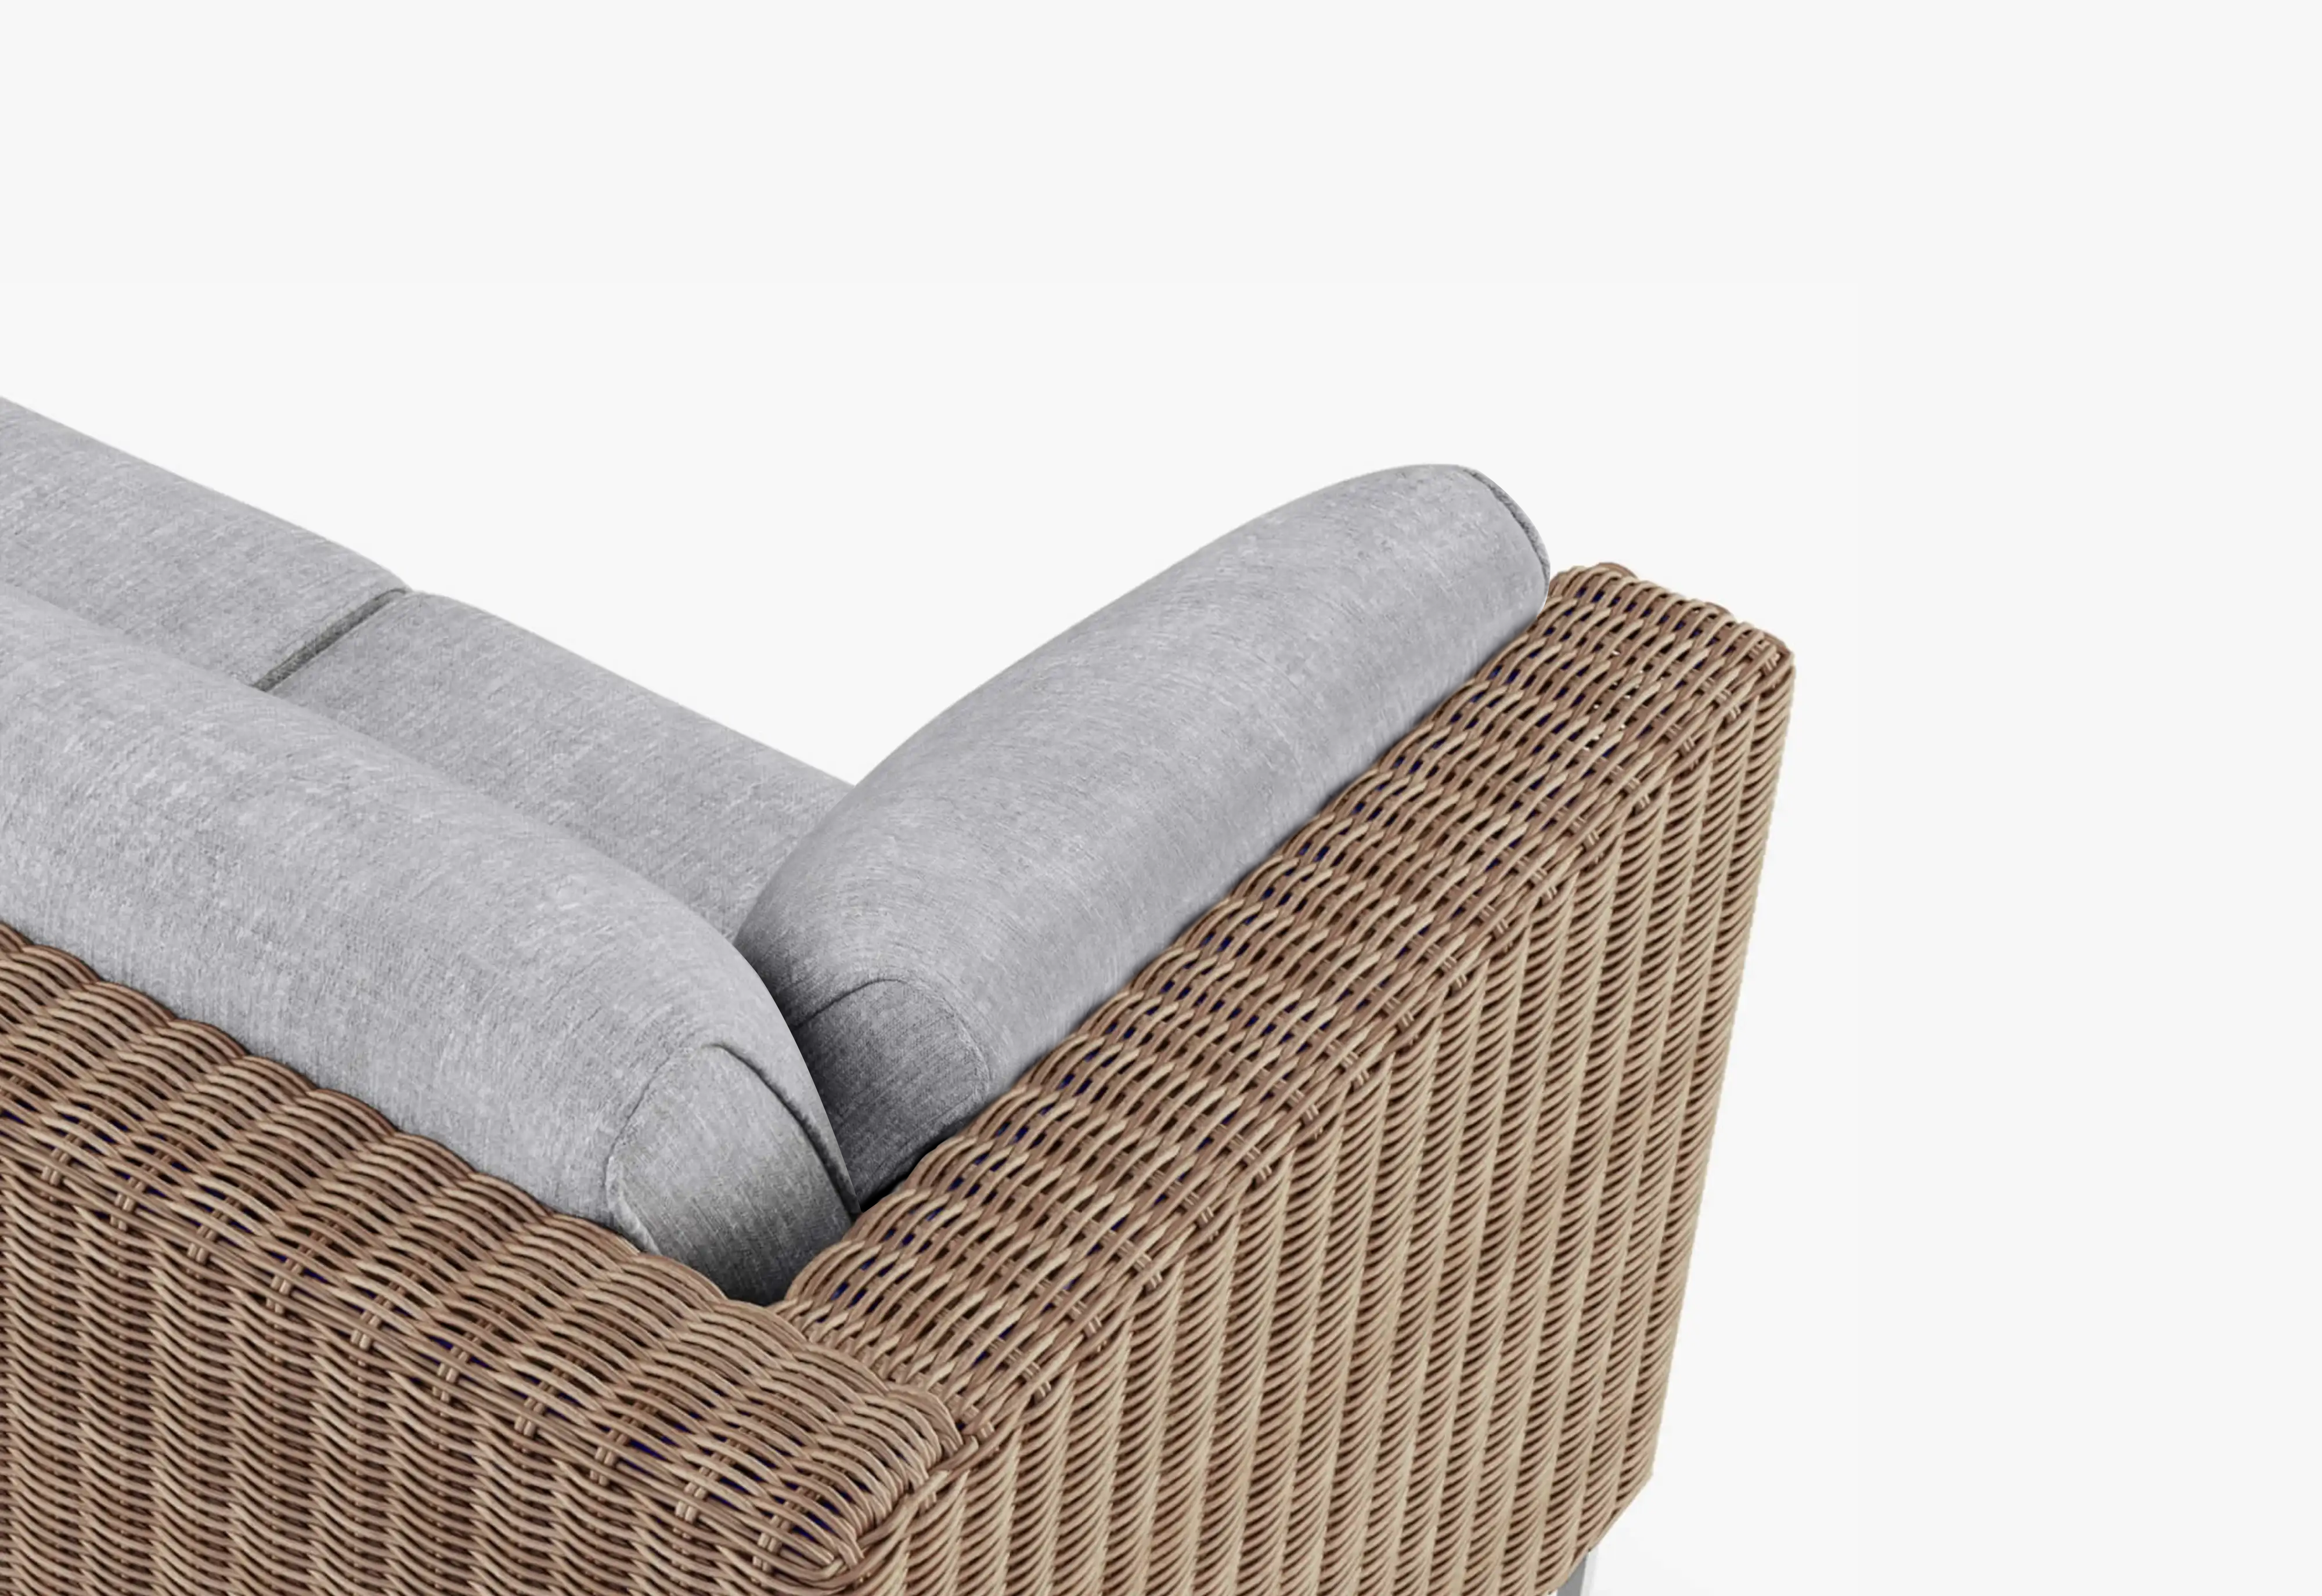
- Soft, inviting curves that keep the area relaxed, like pieces from the Wicker Outdoor Sofa collection.
To keep the fire zone comfortable for longer sits, cushion performance matters too—especially in cooler seasons. Supportive fills like OuterCloud® help seating stay comfortable when the evening runs long, while fabrics like OuterWeave® maintain a calm look under changing light and weather.
Season-by-Season Adjustments That Improve Comfort
A layout that feels perfect in summer may feel too tight in winter (bulkier layers, blankets, slower movement), and too spread out in early spring (when you want to sit closer for warmth). Instead of redesigning the entire patio, make small seasonal shifts:
- Cold evenings: pull seating slightly closer within your safe range, add wind buffering with plants or screens, and keep pathways extra clear for layered clothing.
- Warm evenings: push seating slightly farther back to reduce radiant heat, and rely on ambient lighting for atmosphere rather than “needing” the fire for comfort.
- Shoulder seasons: keep a flexible “open seat” where guests can choose distance based on preference.
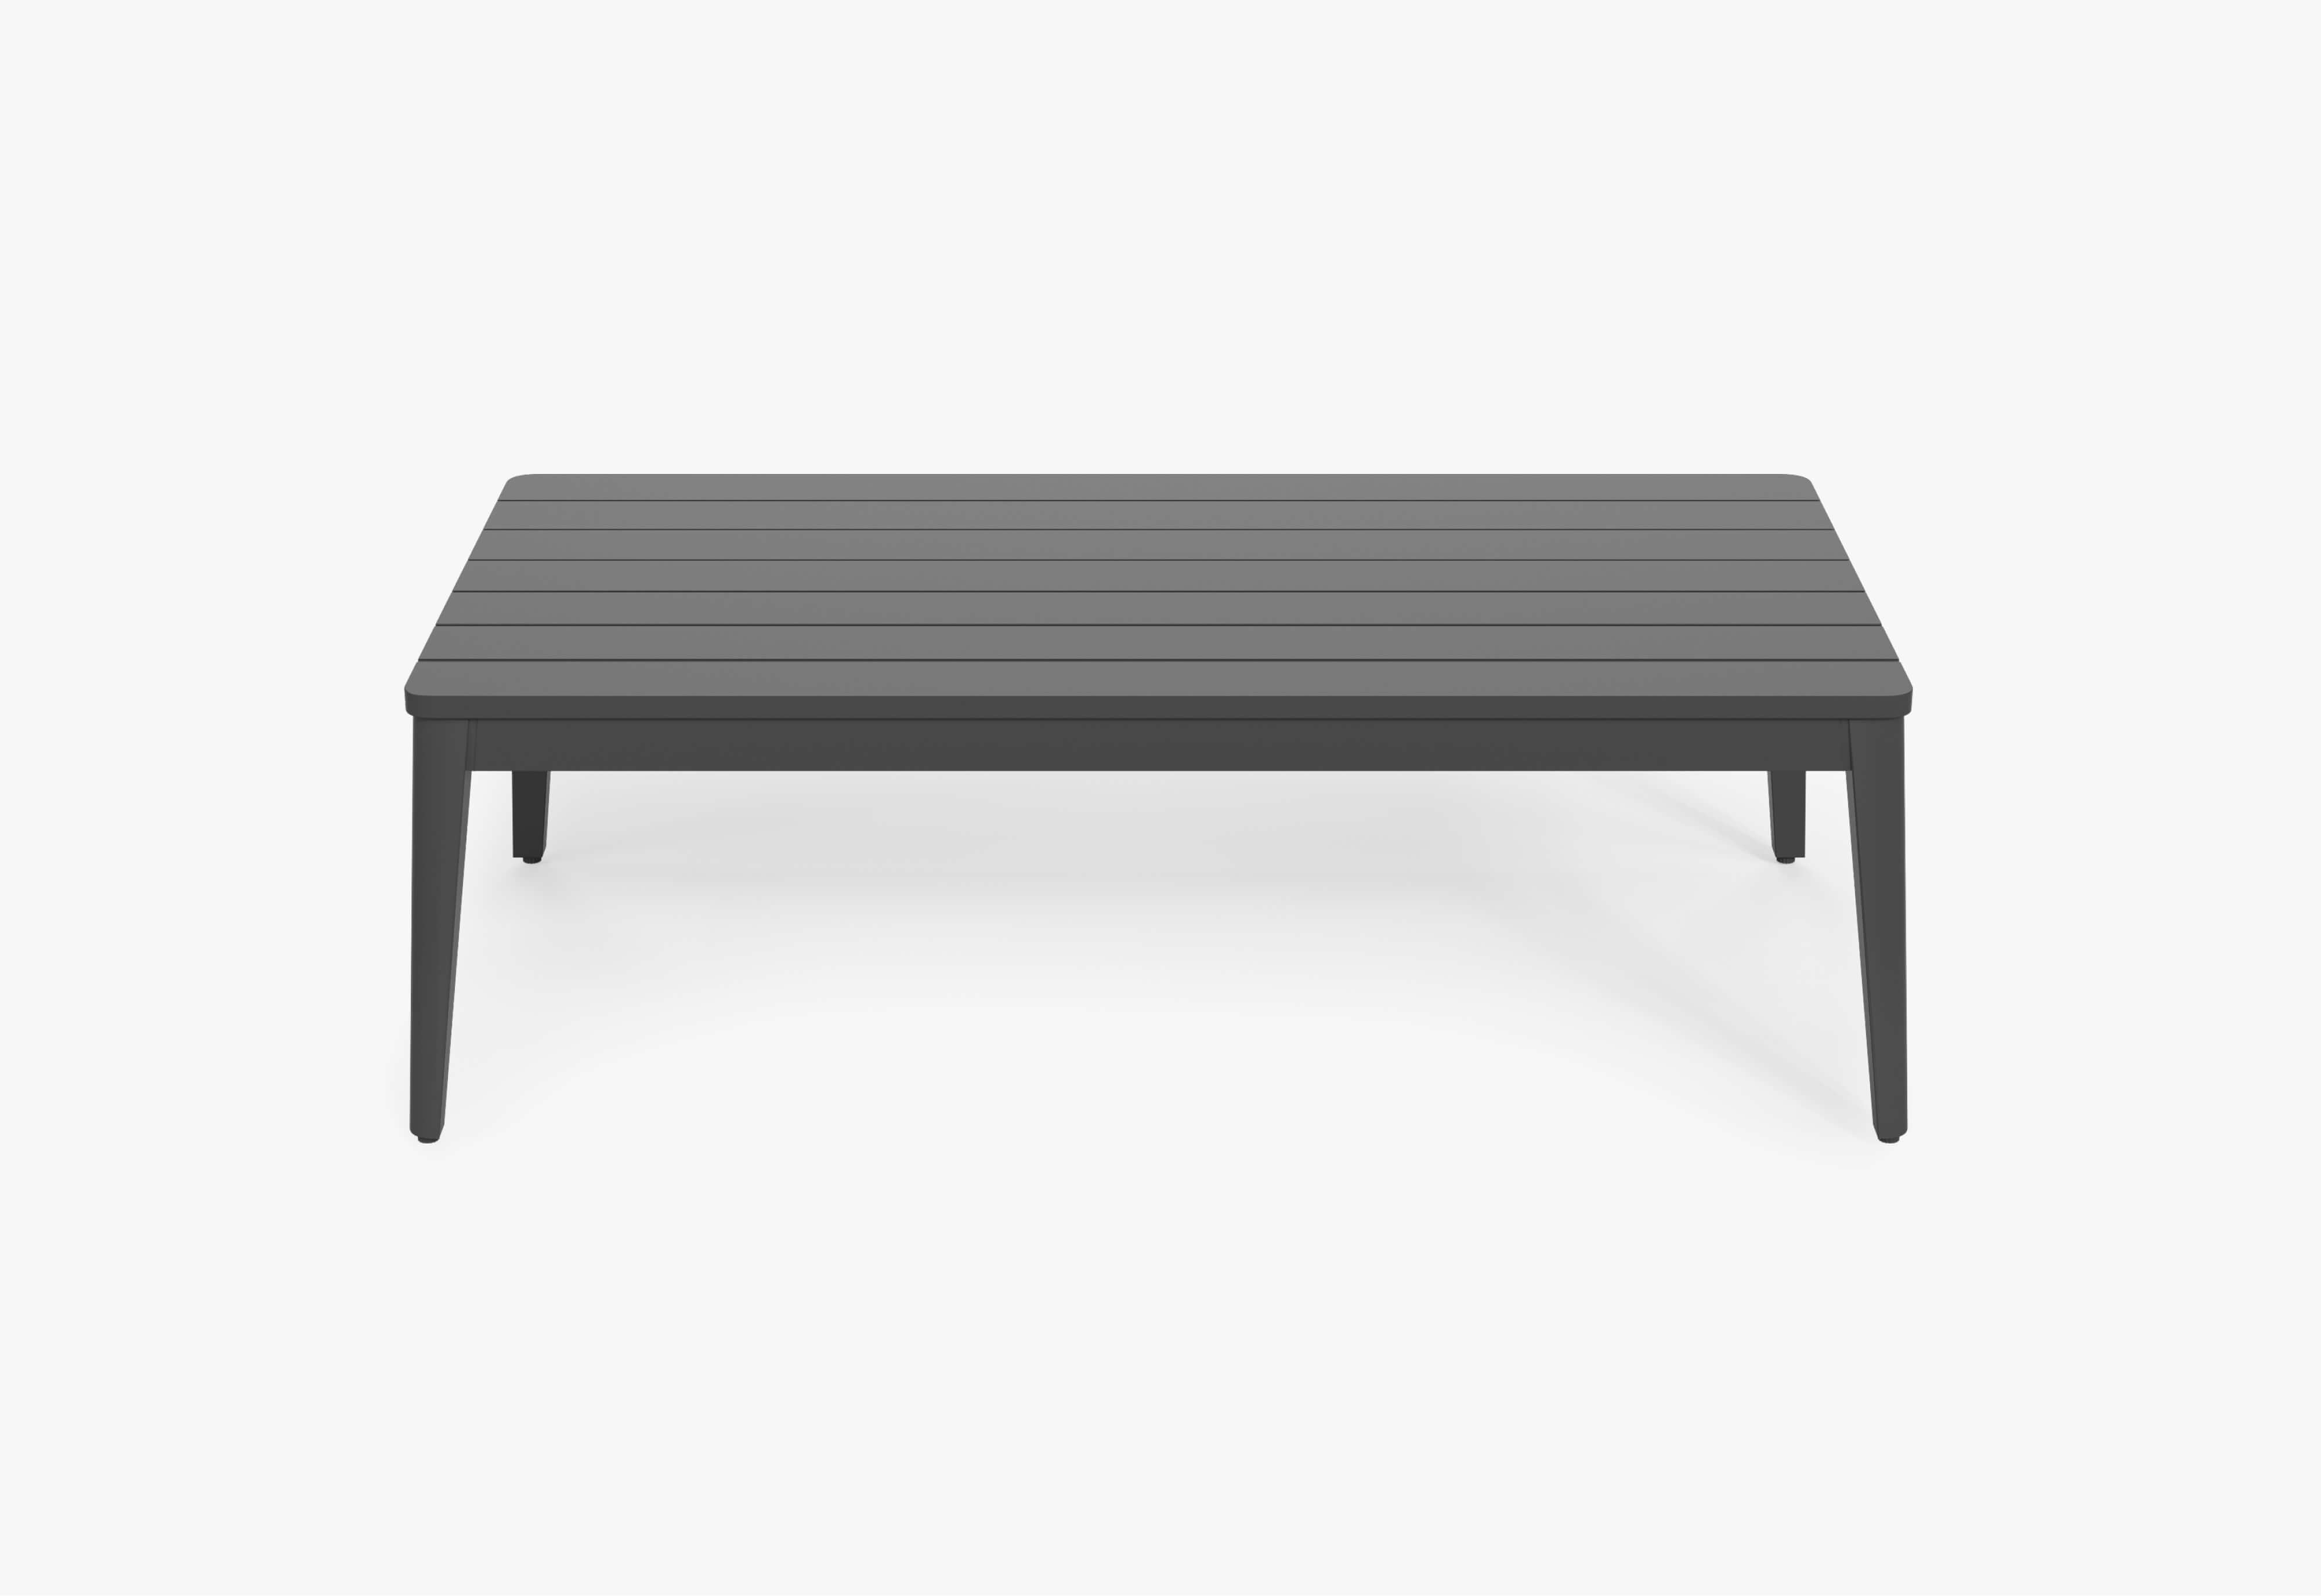
If your patio also hosts meals before the fire portion of the evening, you can keep dining and fireside zones cohesive by starting from the Dining Tables & Sets collection for the earlier part of the night, then transitioning the flow toward the fire pit circle after dinner.
Two Layout Templates That Usually Work
1. The Open Arc
Arrange seating in a gentle curve rather than a full circle, leaving a clear entry point and a more natural circulation path. This is especially helpful in smaller patios or spaces with one main walkway.
2. The Two-Zone Glow
Create a closer inner ring for people who want warmth and a slightly farther ring for those who prefer cooler comfort. This also supports mixed-use evenings—conversation at the fire, kids playing just outside the heat zone.
Product Footprints: Avoid Over-Linking and Plan With the Shape
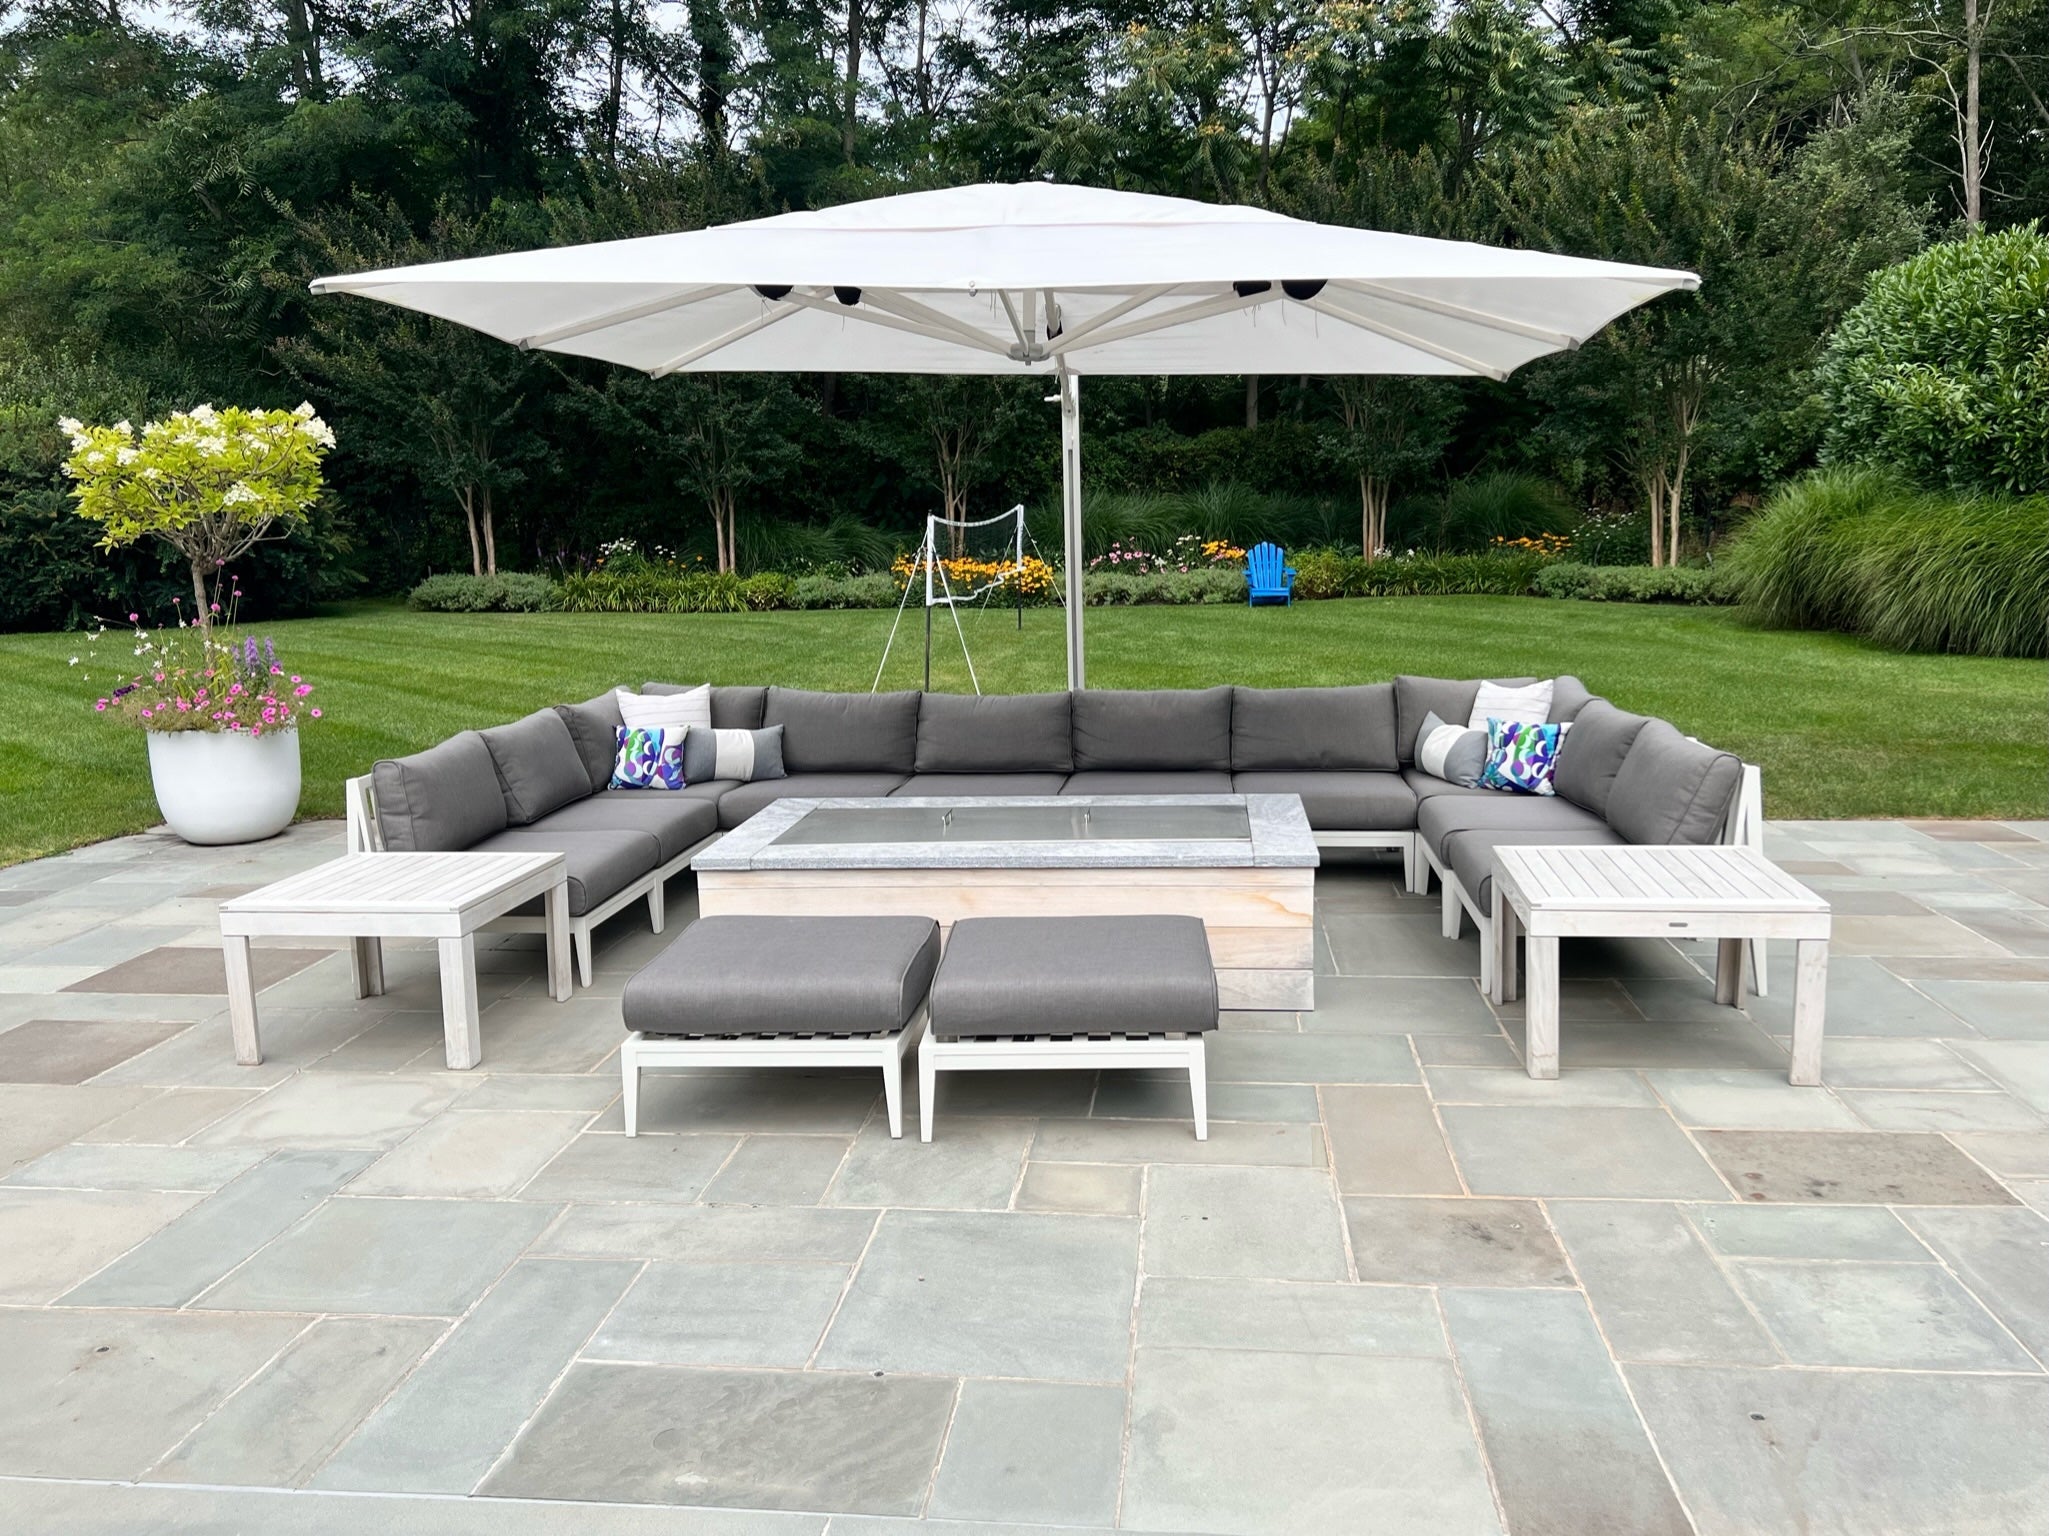
Even in design-forward spaces, fire pit layouts are ultimately about footprint. If you’re planning around a rectangular fire feature, seating often works best in a U-shape or open arc rather than a tight circle. For square or round fire features, balanced arcs feel more natural and keep sightlines even.
Two product examples that help visualize footprint planning:
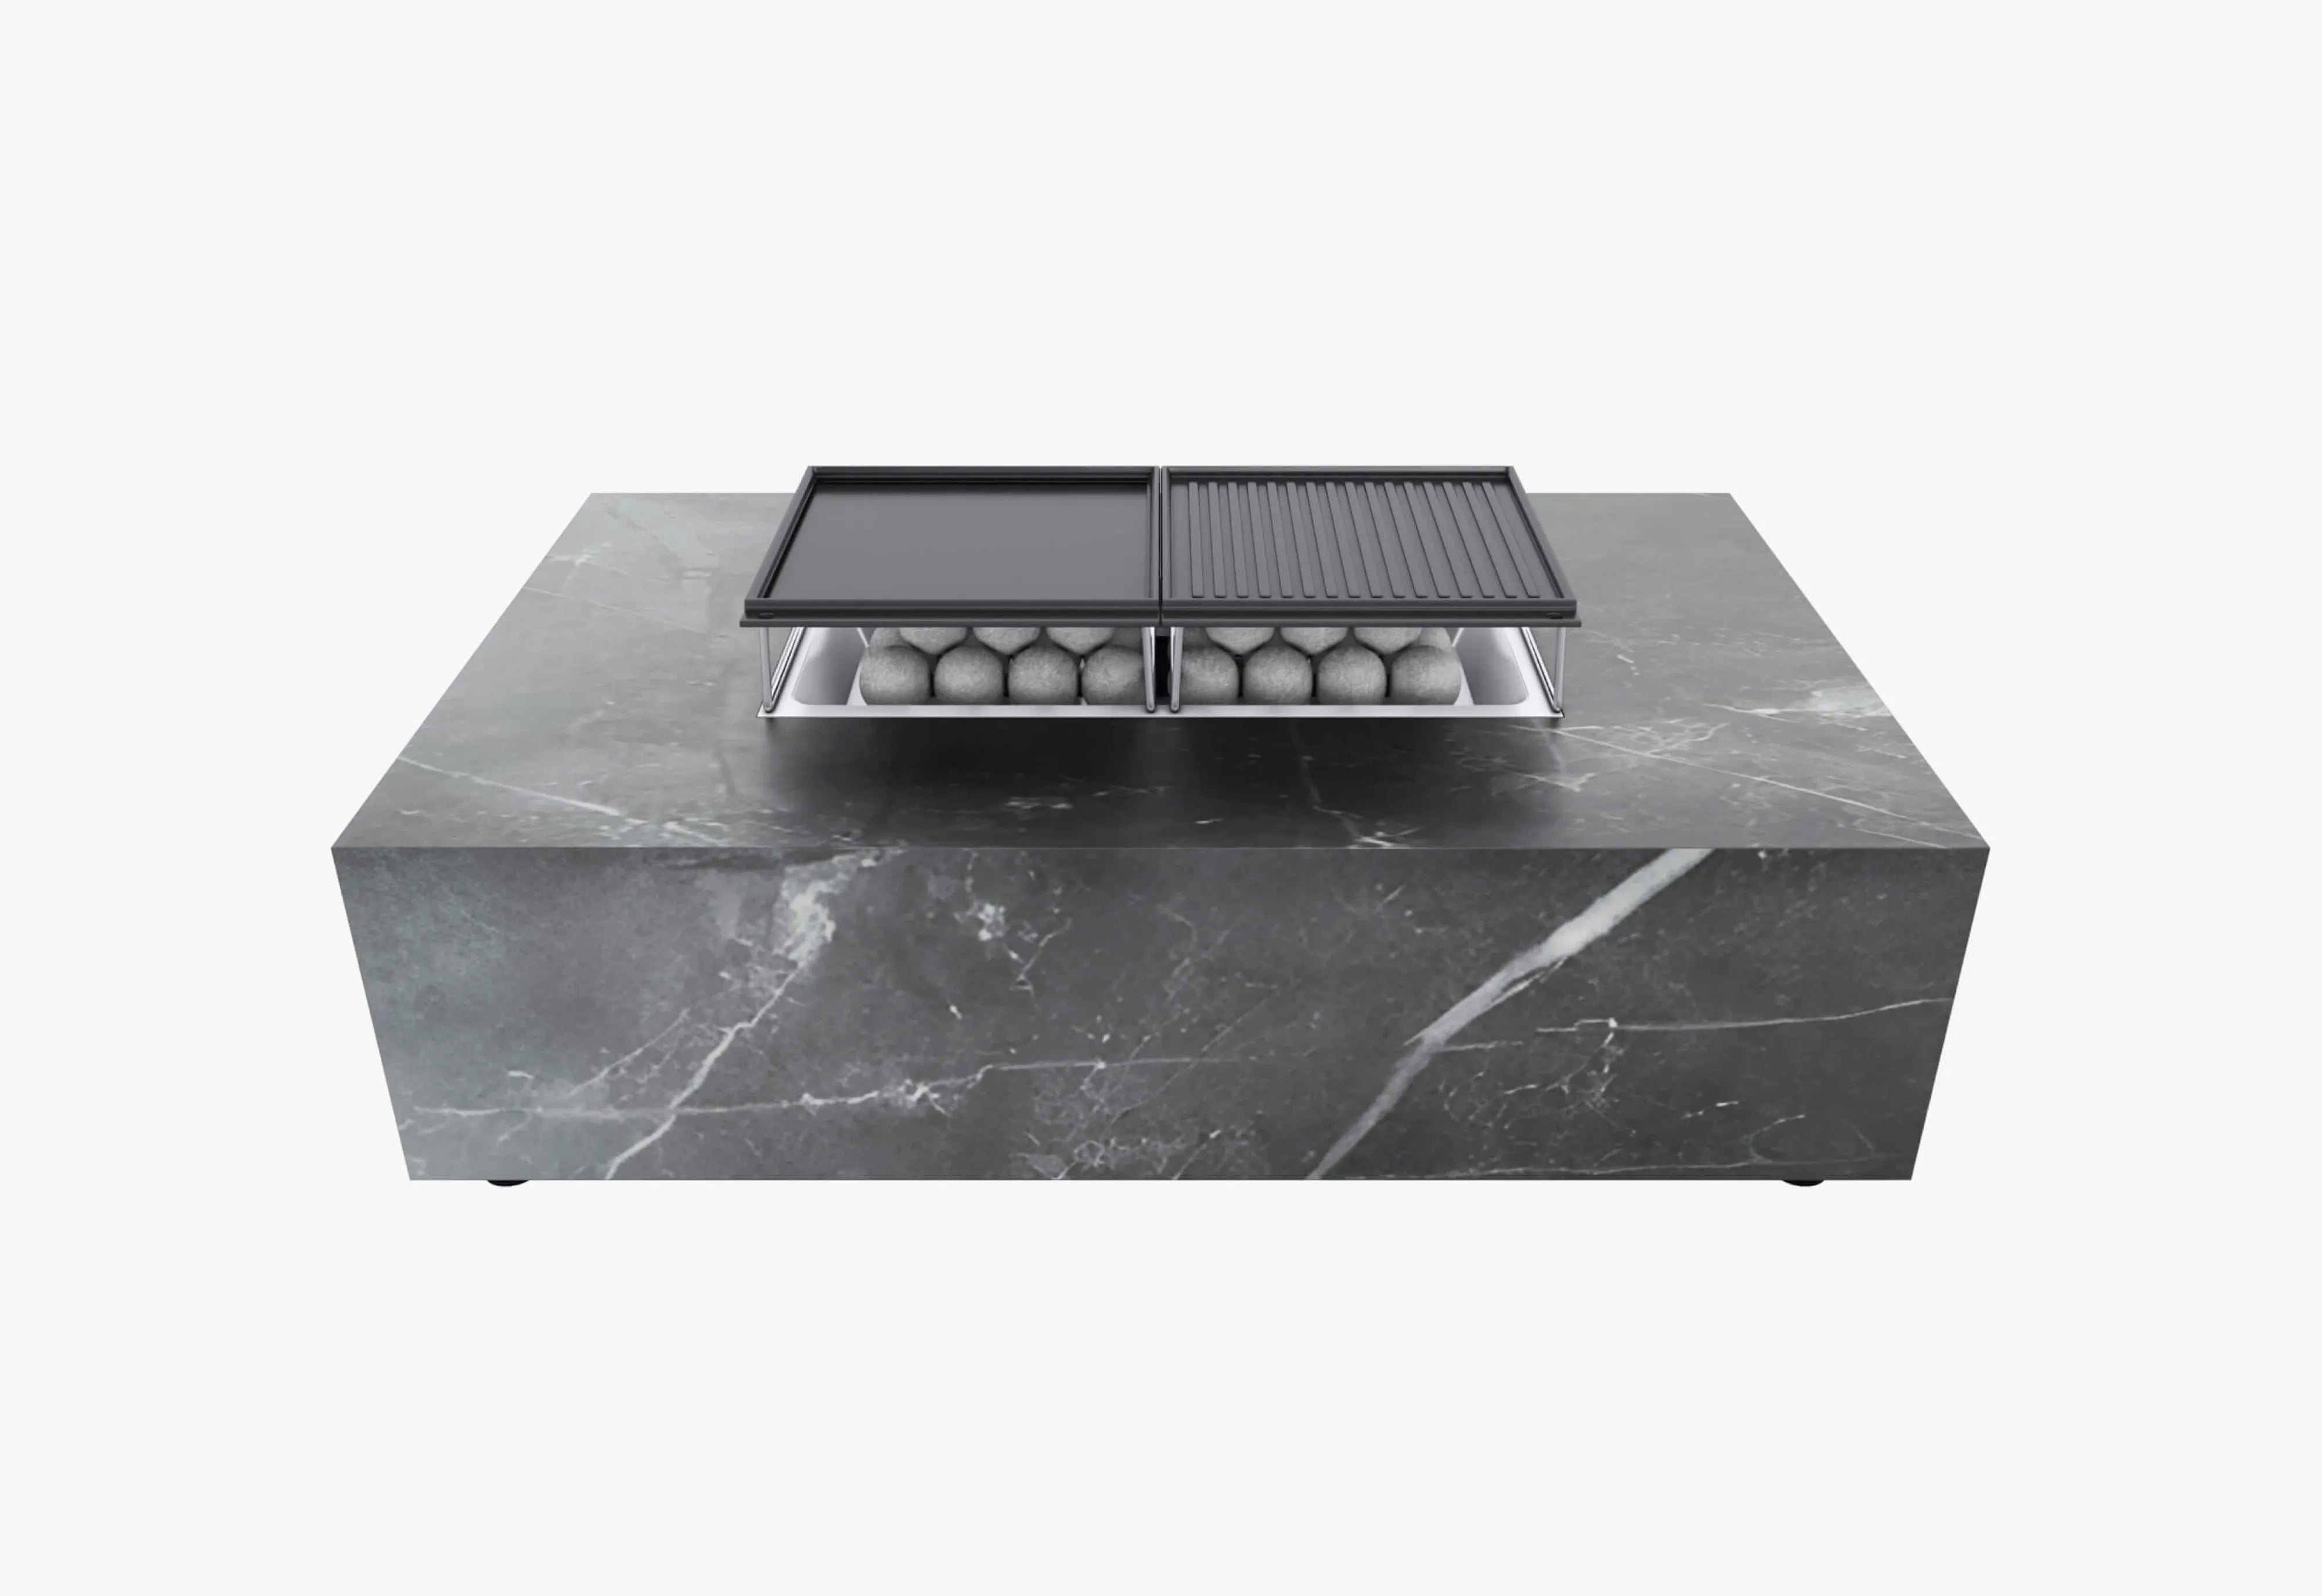
- Concrete Fire Pit Table - Round for a softer, center-of-circle glow.
- OuterStone Fire Pit - Rectangular for longer seating lines and more linear patios.
Use your model’s exact dimensions to tape out the footprint on your patio before committing to placement. It’s the fastest way to confirm clearances and circulation in real scale.
A Fire Pit Zone That Feels Calm, Not Crowded
The best low-smoke fire pit seating layout is the one that disappears into the experience. Guests can move comfortably, the heat feels pleasant rather than intense, and the design reads intentional—even when life outside gets a little messy.
Start with a comfortable seating radius, protect clear walkways, plan for wind, and reserve enough buffer space for seasonal layers and everyday routines. With those details handled, the patio becomes what it should be: a place people naturally gather, stay longer, and feel at ease—through every season.

